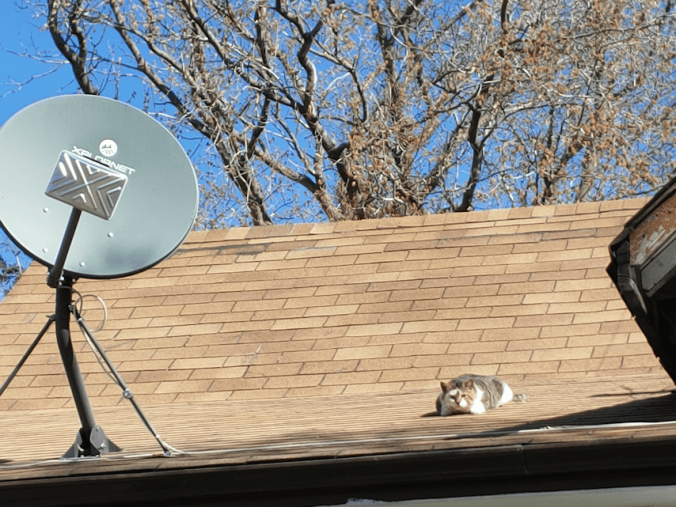
Ah, what a day! As I sit here, I am watching the garage cam’s live feed, as blowing snow covers my daughter’s footprints, from when she closed the gate just a little while go. At least it’s still getting warmer!
FedEx never did show up with our Starlink system.
*sigh*
Hopefully, we’ll get a call or email tomorrow to tell us what happened.
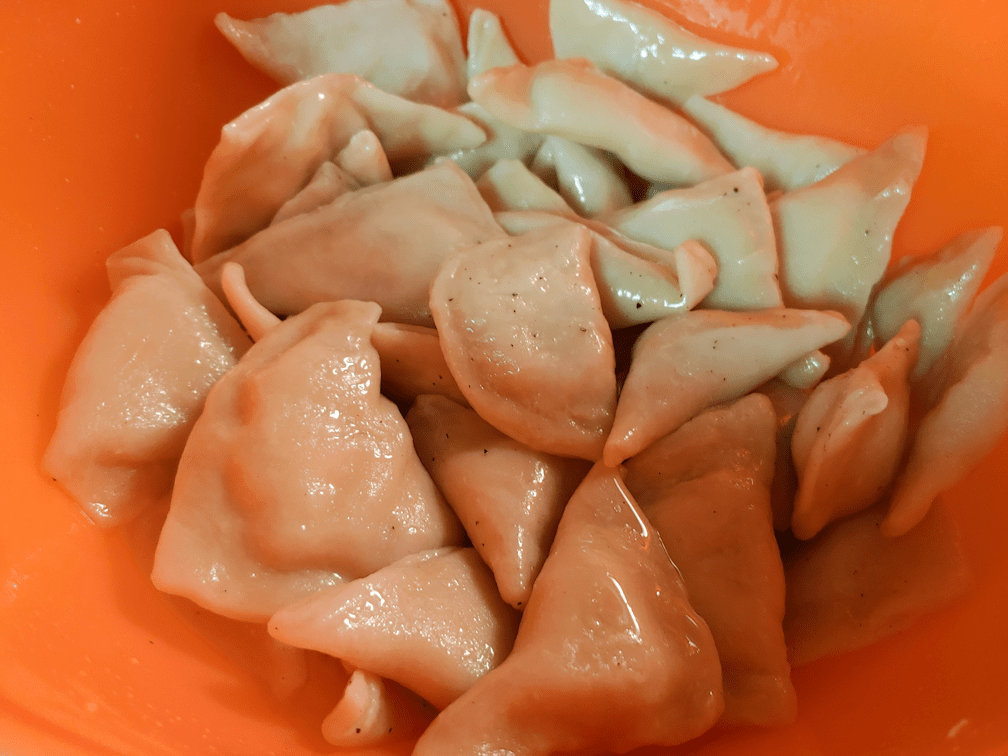
We did, however finish making the pierogi!
Gosh, it’s been so long since I’ve made these, they are the ugliest pierogi, ever! :-D
We also have a huge amount of potato filling left over, even though I made a double recipe of dough. I keep forgetting just how little stuffing fits inside a pierog. We did make extra deliberately, though, and as I write this, the girls are using some of it to make supper.
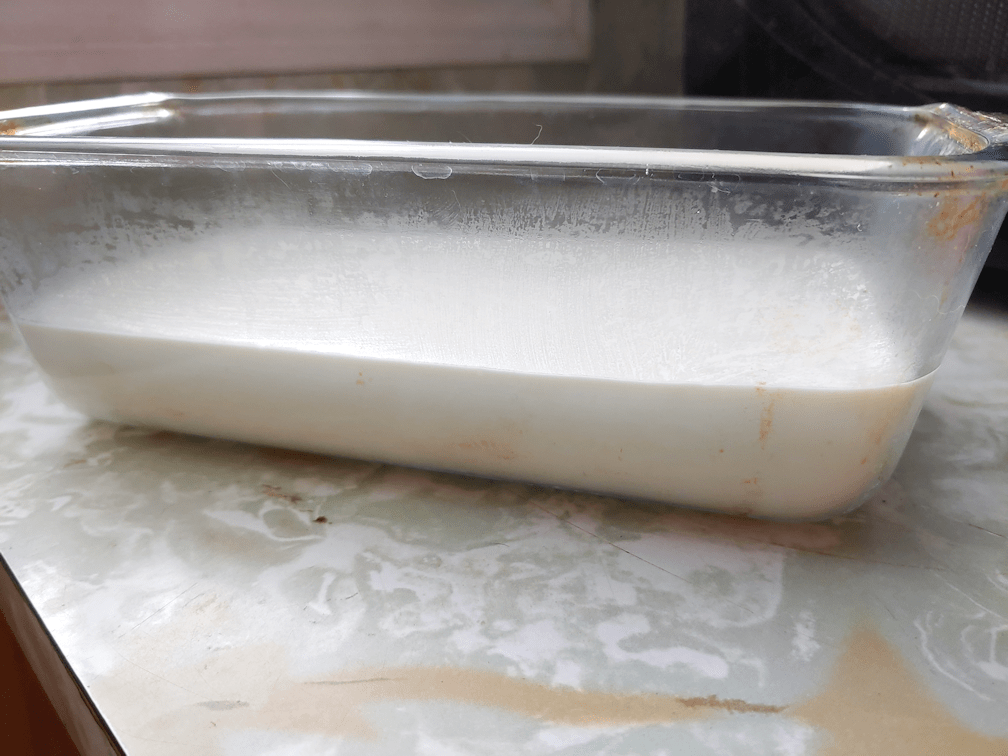
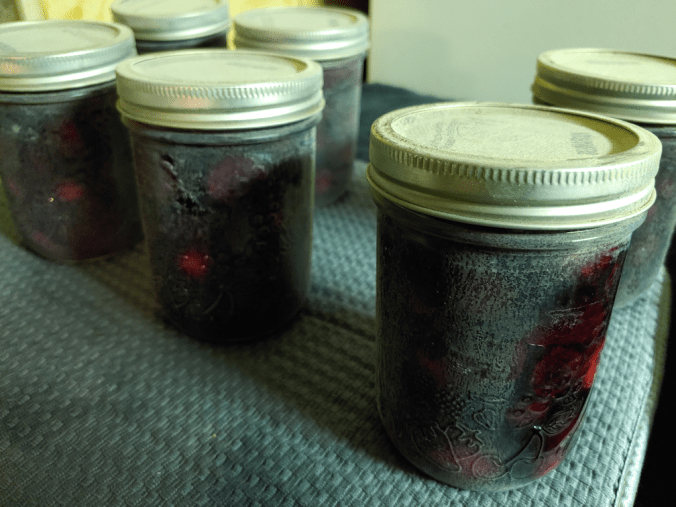
No, we’re not having pierogi for supper today. Those are cooling off in containers for the fridge. I had thought I’d have enough for the freezer, but it turns out I would have needed to quadruple the dough, and I won’t be doing that. I was in enough pain by the end of it, with just the double batch!
Anyhow, this is how we make our loaded filling.

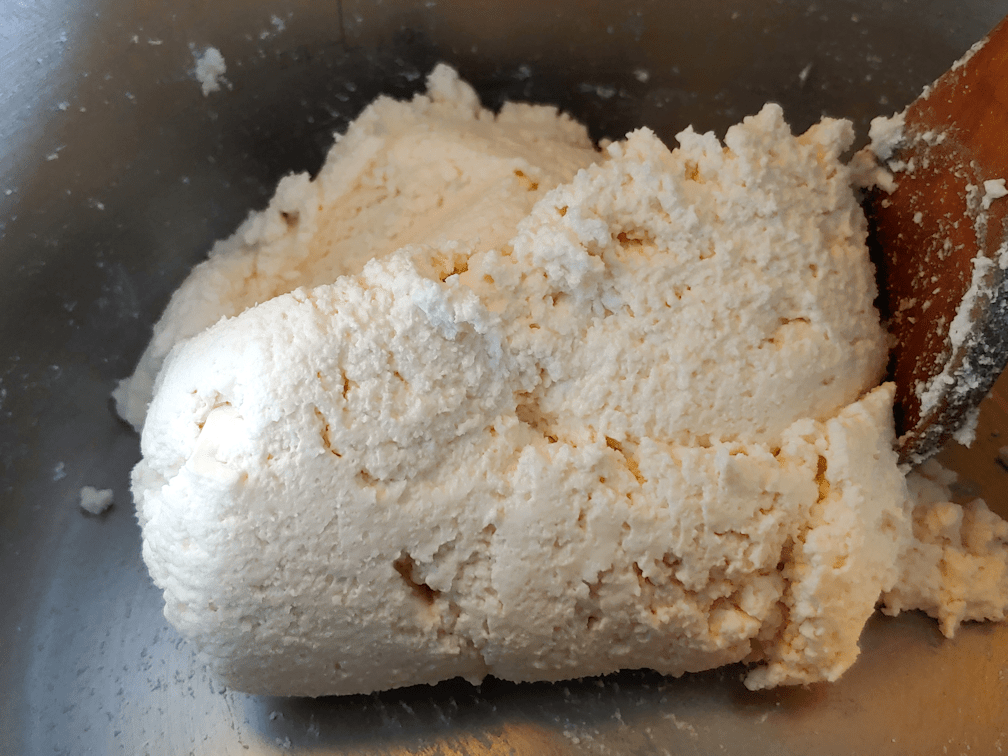
The potatoes are basically our usual mashed potatoes, except on the dry side. They can be completely plain, too, or maybe seasoned with just salt, but we to include butter, milk and sour cream, and whatever else we have on hand and strikes our fancy. My daughter added a dash of hot sauce to it this time; just a tiny bit, because she knows I have no tolerance for spicy foods.
While she worked on the potatoes, I cut bacon into very small pieces, then cooked them over medium low heat in a frying pan until crispy and the fat was rendered out. The bacon pieces then got removed with a slotted spoon onto paper towel to drain and cool down.
I then added a bunch of mushrooms, cut into little pieces, to the bacon grease and cooked those on medium heat until almost crispy. That can take a while, as they release quite a bit of moisture as they cook. I used white button mushrooms this time, but usually use crimini. Any fresh mushroom would work, I’m sure.
Once done, the mushrooms were removed with a slotted spoon onto paper towel to drain and cool, just like the bacon.
After that, I poured off some of the bacon grease, until there was only about 1 or 2 tablespoons left in the pan. To that, I added about the same amount of butter, then added onions, chopped fine. The onions can be cooked until translucent, but I decided to caramelize them this time. Near the end of their cooking time, I added a bunch of garlic I’d put through a garlic press.
All of that got mixed in with the mashed potatoes, then the entire pot was put into the old kitchen, which is at freezing temperatures these days, to cool down.

The filling didn’t need to be completely cold before I added the cheese, but I did want it cooled enough that it wouldn’t melt the cheese. Here, I’ve got some old cheddar and goat cheese. I’ve made these using Montery Jack, which worked out very well. Any sharp cheese can be used. A mild cheese would just disappear among the other flavours.

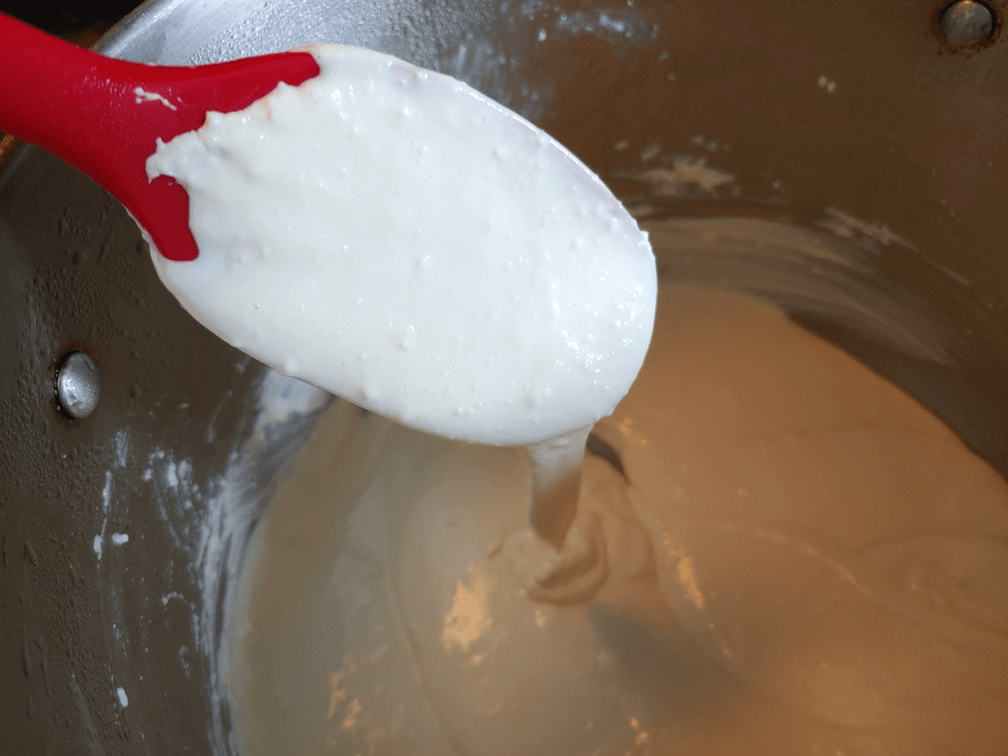
The dough was made using a basic recipe I found online. I like a dough that uses sour cream, but we didn’t have enough for a single recipe, never mind a double, so I used one that was just flour, salt and butter melted into boiled water. The fun part is kneading it. Pierogi dough has such a wonderful texture!

When it was time to start making the pierogi, I just made a mess of things! LOL The first ones I made were massive. I was shooting for three inches square, but I was probably closer to four.
Yes, I do squares folded into triangles, instead of cutting rounds. It’s faster that way, and there’s less dough left over that has to be rolled out again.
The next batch I did went the opposite way, and were far too small. Some of the squares were more rectangles and ended up being folded into smaller rectangles instead of triangles. :-D
My daughter started boiling the first couple of batches while I finished up the last ones. At the very end, when there was just enough dough to make three pierogi, I made three balls and rolled them out individually, so we got a few half-circle ones, along with the triangles and rectangles! LOL
After they were cooked and drained, we tossed them in olive oil, salt and pepper, then I split them up into take-out containers to finish cooling down.
I suppose I should have tasted one, but I was so focused on getting them ready to put away in the fridge, I didn’t think of it!
Let me remedy that.
Oh, my goodness! They turned out great!
The main reason I chop everything that goes into the potatoes so small is so that each pierog will have a bit of everything in it, and you can really taste each ingredient in there. Of course, with the onions and mushrooms fried in the bacon grease, the bacon flavour runs through it all, but without being too dominant.
The dough is nice and toothsome. I like a good, thick dough. Not too thick, of course, but I remember that even as a kid, eating my mother’s pierogi, my favourite part was the outer edge of dough. I would have liked a sour cream dough better, but the plain dough is still excellent. When we eat these later, they will be pan fried in butter, and that will make them even better!
Who cares if they are all weird sizes and shapes? They taste great!
The Re-Farmer