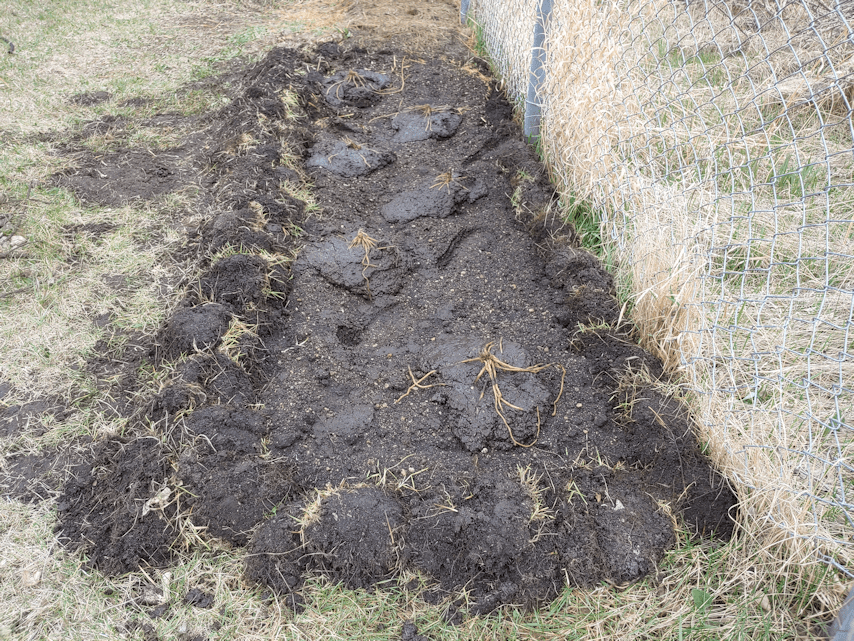
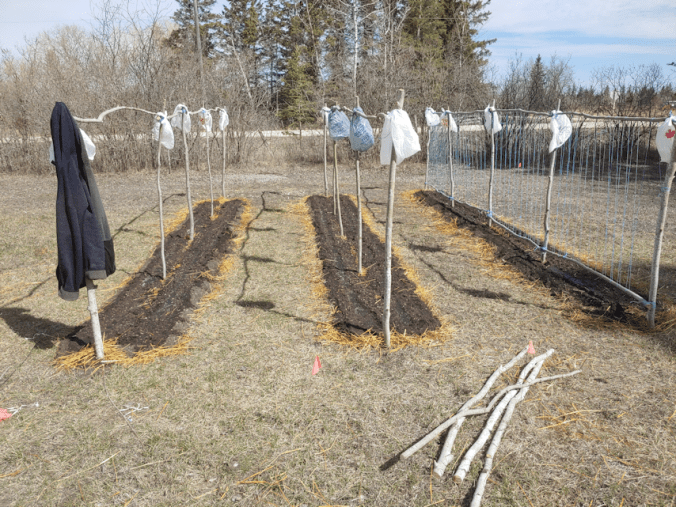
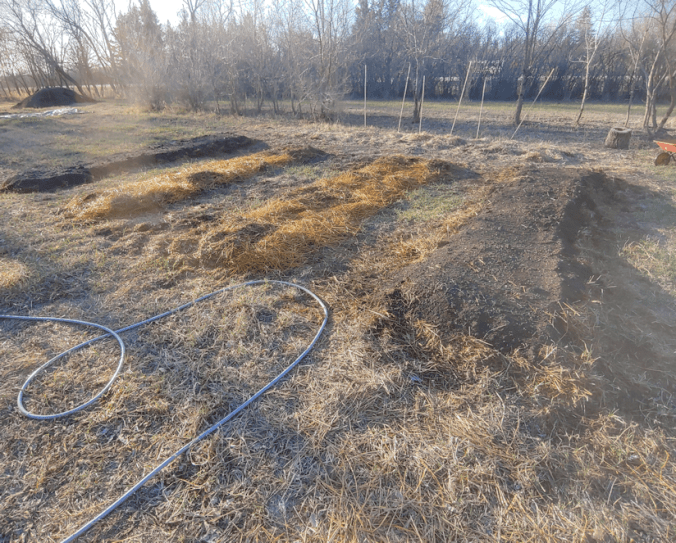
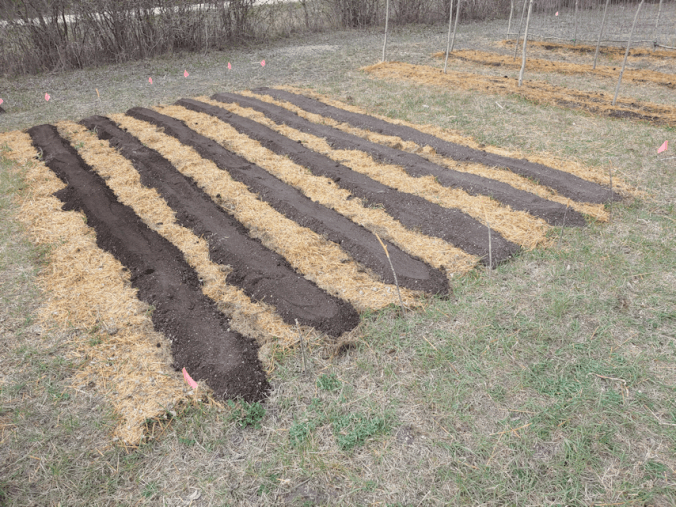
My goal for this morning was to get the soil over to where we’re planting the Dorinny corn, before things got too hot. Normally, I don’t have breakfast until after I’m done my morning rounds, but I cut those short to quickly eat before I started hauling dirt. I probably should not have taken the time to eat, first! I got just over two rows done before I had to go inside. I couldn’t believe how quickly it got so hot!!
I didn’t get back to it until well into evening. While one daughter took care of the evening watering, and the other helped me prepare the corn block, things went much faster, too.
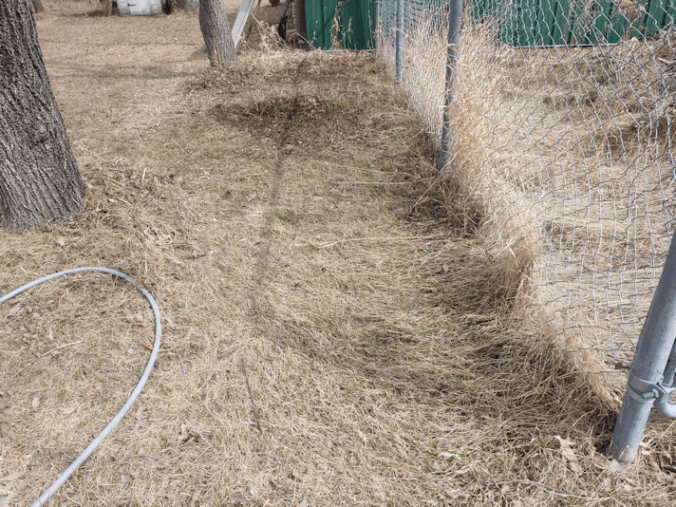
Once the soil was in place, my daughter dragged the hose over to give it a soak, while my other daughter and I checked out different locations and decided on where to plant the mulberry tree. It’s going in the strip between the garage and the road. Since we’ve already started cleaning up there, this spot will have the full sun it needs, while still being surrounded by enough mature trees to protect it from the harsher winds. We found a little cedar there, when we first started cleaning up in the area. Like the mulberry, it is not a zone 3 three. Nothing has been done to protect it over the winter, but it has survived, though it’s still very small. This, at least, tells me that the mulberry will have a chance of making it, in this location.
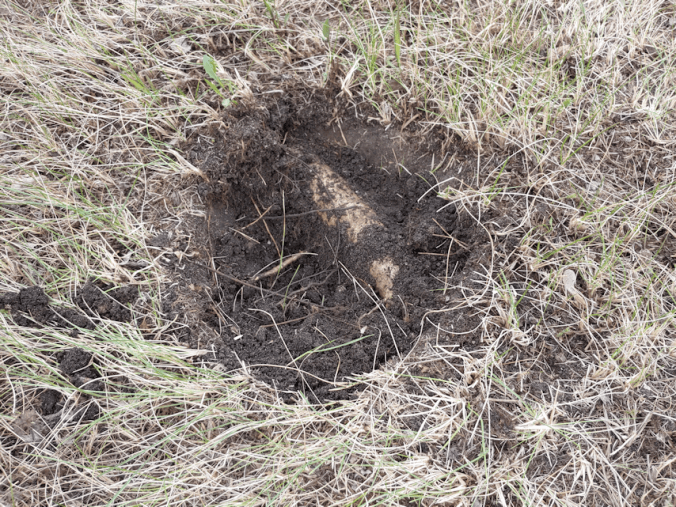
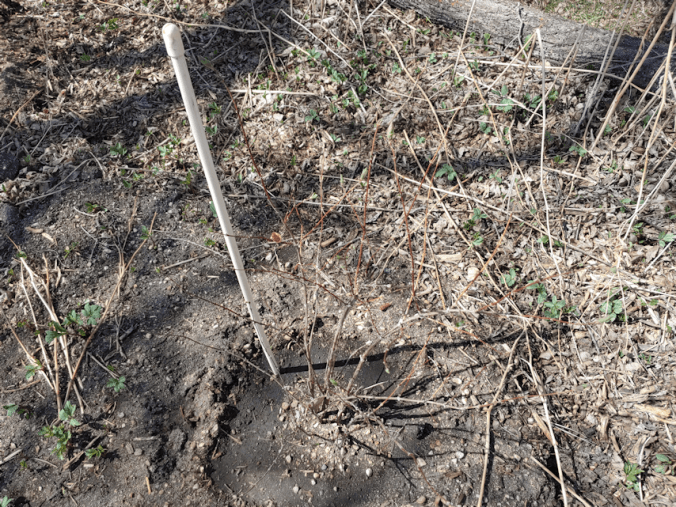
After picking a spot and raking away the thatch, my daughter started digging and immediately hit a huge root!!
So we moved the hole over a bit. :-D

While she dug the hole, I got the mulberry sapling, along with the rest of the pre-soaked peat we still had in the sun room, and a bucket of water. When I got back to my daughter, she had already hit gravel and was struggling to get out a larger rock. Between me with the spade and her with a trowel, we managed to get it out. Thankfully, it turned out to be wide and flat, which made it much easier to get out. Of course, for some reason, it got moved and didn’t end up in the picture. :-/
We certainly won’t have to worry about drainage here. Like everywhere else, there wasn’t a lot of topsoil. After that, it’s gravel.
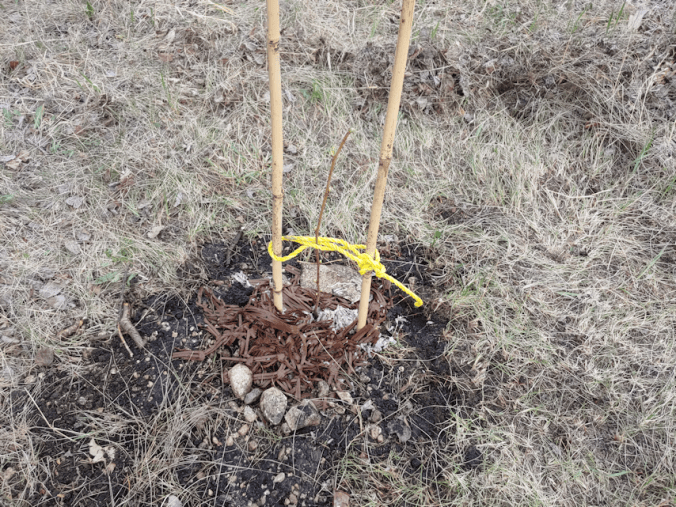
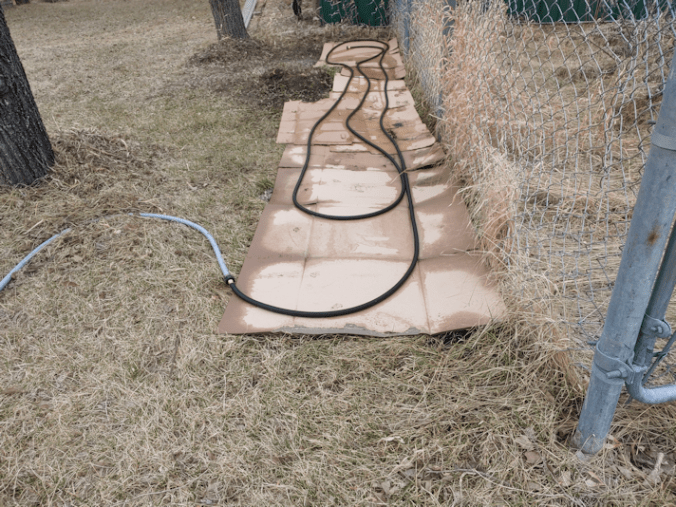
We filled half the hole with the damp peat, added more water, planted the sapling with more peat, and placed a pair of bamboo stakes beside it for supports. The soil was returned and the cardboard packing material the mulberry came in, including what was keeping the root ball damp, was placed as a mulch. We even put the bigger rocks around to help keep things in place. Then I wrapped some cord around the sapling and the supports. Hopefully, this will also make sure no deer will eat it! I also picked the yellow rope deliberately. I’ve read that using ordinary yellow rope like this, strung in a rope fence around a garden, has worked to keep deer out, even though they can easily get by it. Apparently, there’s something about the yellow rope they don’t like. I figure it’s worth a try to use it, since I happened to find some in the sun room. If not the colour, then the stakes, should act as a deterrent.
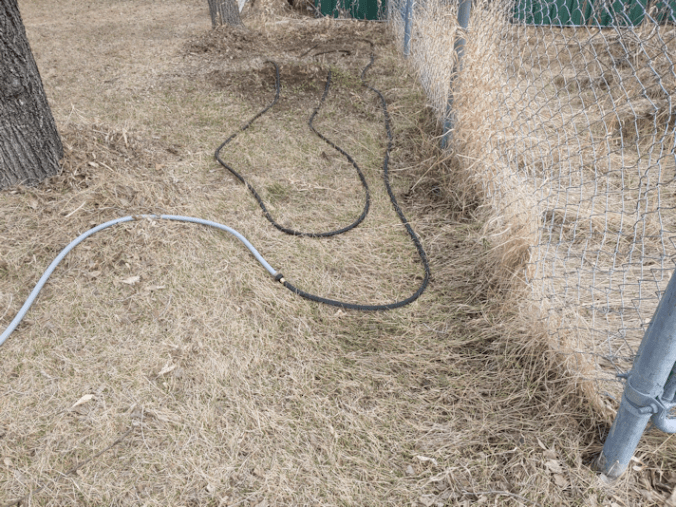
By this time, my daughter that was watering things had brought the hose over as close as she could. We gave the mulberry a final watering – and then watered the cedar, too! Since we’ll be tending the mulberry now that it’s here, we’ll take the time to tend the cedar, too. Later on, I’ll bring some garden soil to place around both of them.
While I stayed to water things, my daughters put things away for the night, but I decided to go ahead and plant the Dorinney corn tonight, rather than wait until tomorrow.

After setting the seeds in water to soak, I used the handle of a trowel to make holes about a foot apart. Though my daughter had been able to set the sprinkler over the area for some time, the soil was still pretty dry further down, so I used a watering can to give the rows a deep soak before planting the seeds.
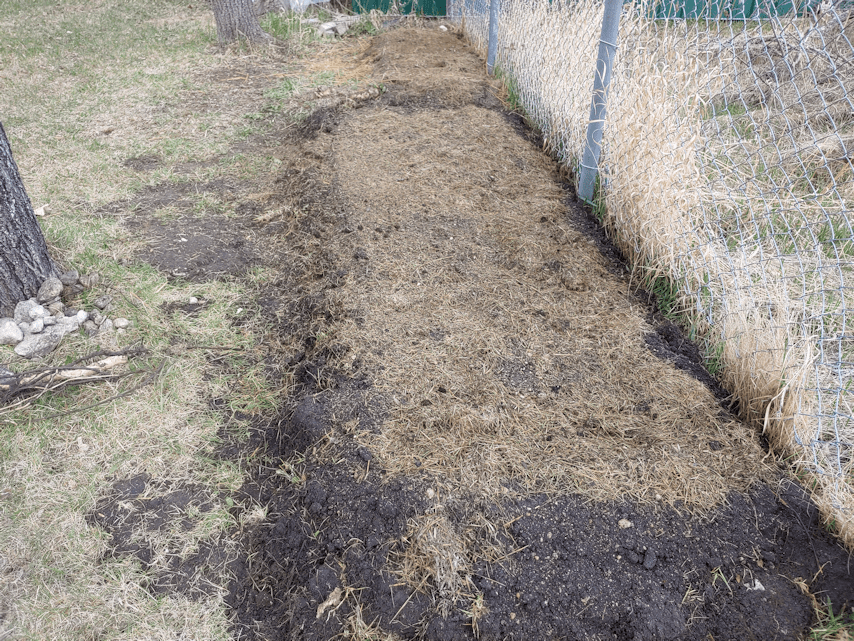
By deciding to put the soil over the grass clippings mulch, instead of the chopped straw, we lost a row – and it turned out there were enough seeds in the packet to need it! Since I’d soaked all the seeds, and I didn’t want them to go to waste, I made another row, instead. Once all the seeds were planted, I gave them another watering.
By then, the water barrel was needing a refill, so I set up the hose and hung around while it filled.
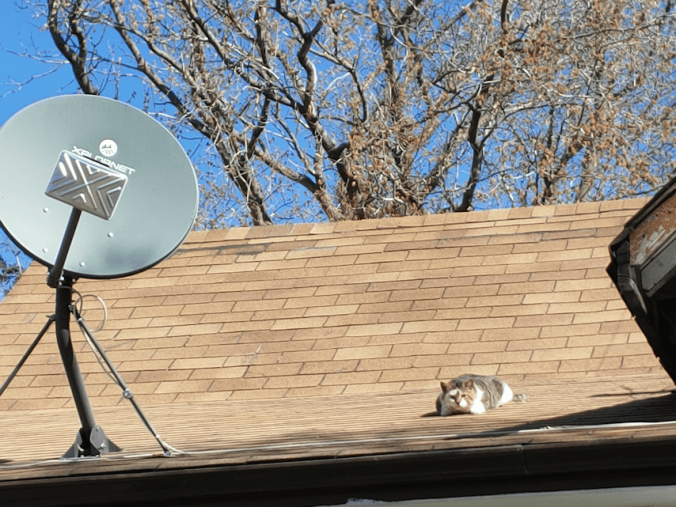
I got company.

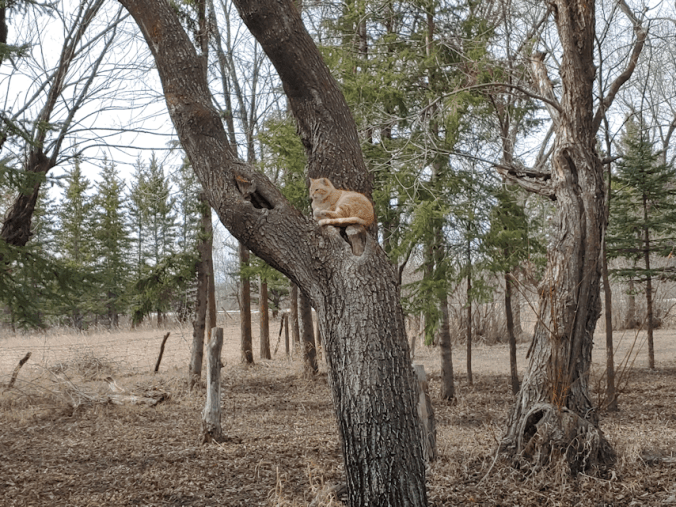
Rolando Moon came for a visit today! I haven’t seen her in about a week, but this evening, she decided to keep us company. She even joined us while we were planting the Mulberry tree – and kept trying to drink the dirty water! At least here, she’s drinking the clean water that’s in the watering can. It’s kept filled, so it doesn’t blow away, and she had her head stuck right into the opening. Silly girl! :-D
With the corn planted here, we are done with the early planting, until the potatoes come in next week! Since those are going into grow bags, there are no beds to prepare for them. Everything else doesn’t get planted until after June 2.
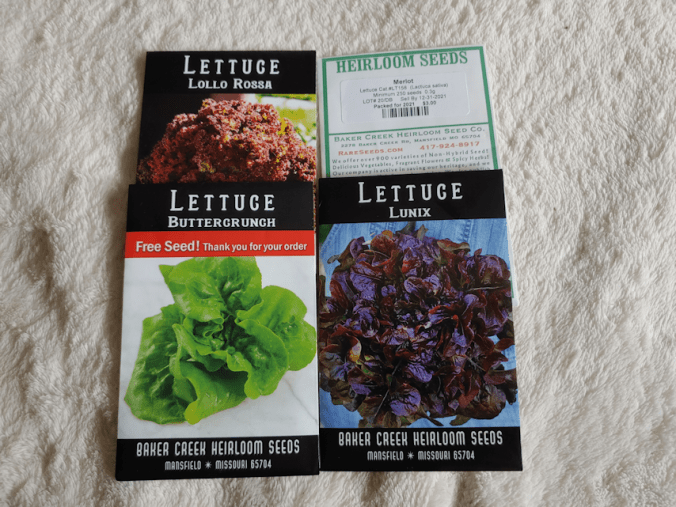
As for the other garden beds, the girls checked under the plastic covering the beets and carrots in the old kitchen garden and saw sprouts, so those got taken off. The lettuces are also coming up; the seedlings are still tiny, but big enough that we can be sure they are lettuce sprouts, and not weeds! LOL My daughter planted her Black Form Iris near the poppies, which is right along where she planted her other irises in the fall. I was also able to confirm that we are seeing pea sprouts in all three beds. Just a couple, here and there, but they are clearly not weeds that have made their way through the straw and soil. There are some of those, too!
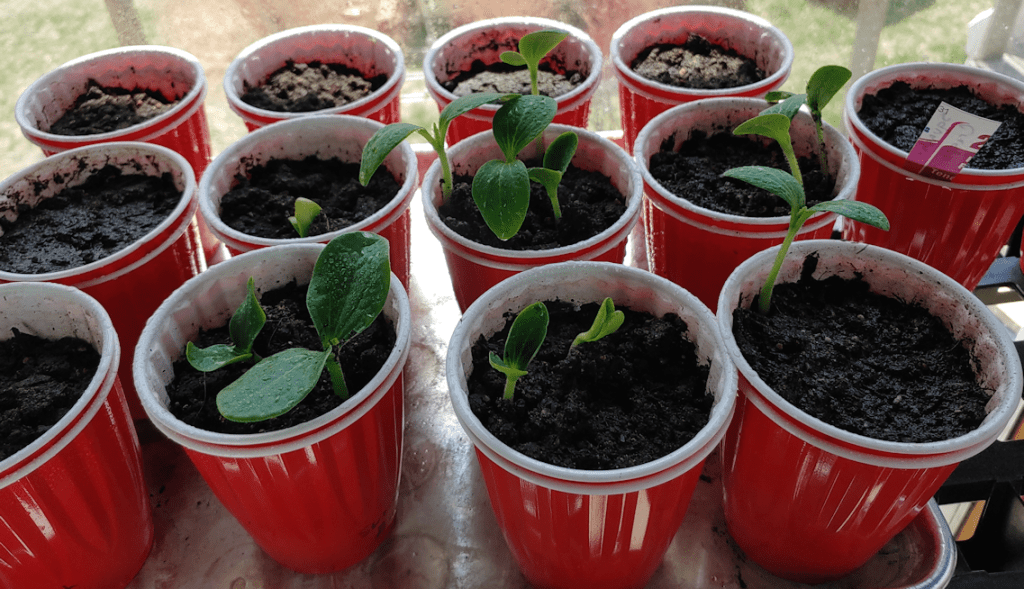
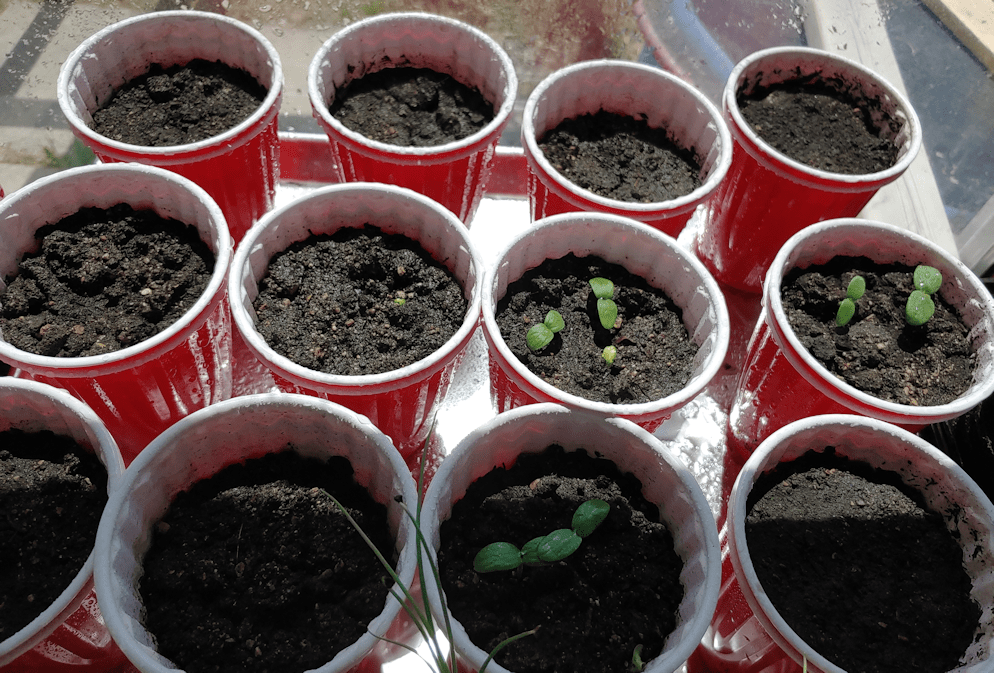
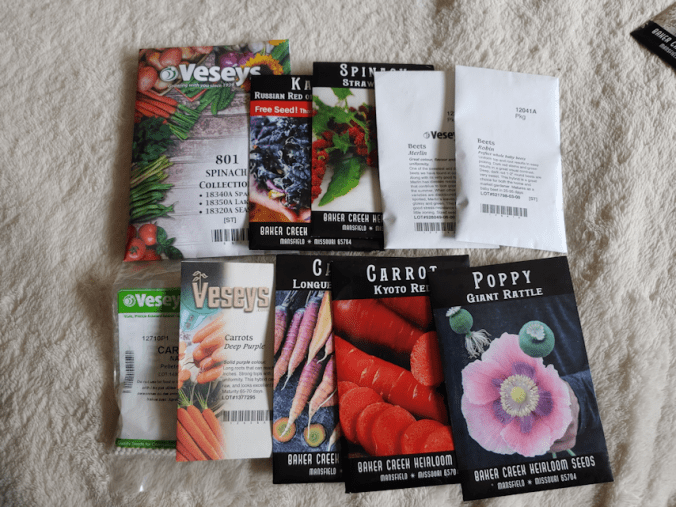
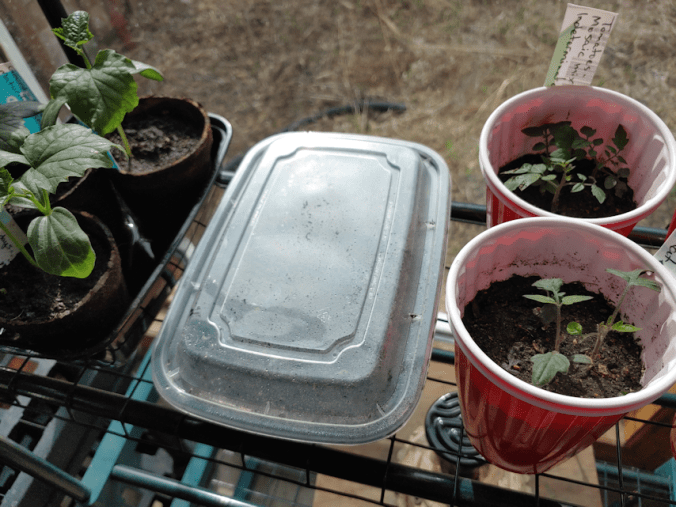
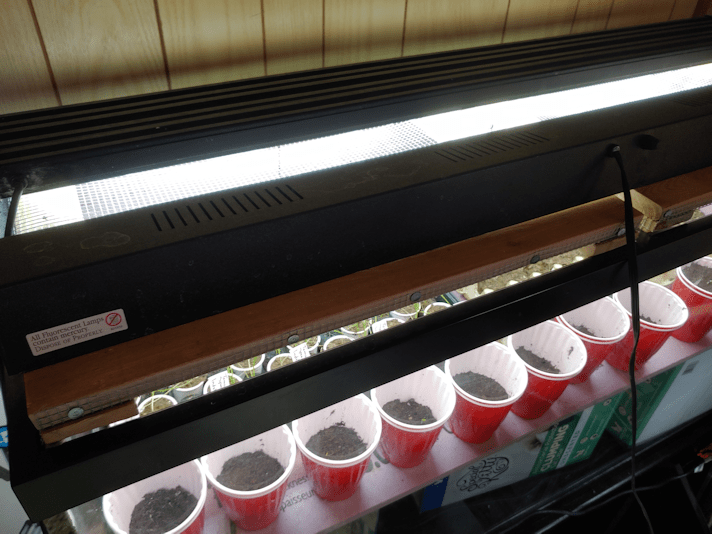
Looking at the long range forecast, we’re going to keep getting hotter for the next few days, then the temperatures will drop down to a more sane level for the last couple of weeks of May. If those temperatures keep steady through to June, there will be no frosts at all. Still, we will wait. We will use that time to finish preparing the other beds. The climbers will be doing in a bed next to the corn that was planted today; this is where we will be building a squash arch. It looks like the only gourds will be including there will be the dancing gourds and luffa, as there is still no germination in the other three types of gourds. It looks like we’ll have plenty of Halona melons to transplant. I’m seeing quite a few sunburst squash have germinated, but not very many of the other summer squash yet. I’m really excited by how quickly the Mongolian Giant sunflowers and Montana Morado corn have germinated! There are so many things sprouting in the sun room, it’s going to be a challenge hardening them all off at the same time. I’ve got the platform set up where the cats won’t get them, but there’s not that much room on it. We’ll have to work something else to use as well.
What an excellent problem to have. ;-)