I was so excited to finally get our bulbs this morning!
Here are the three varieties of garlic we ordered.
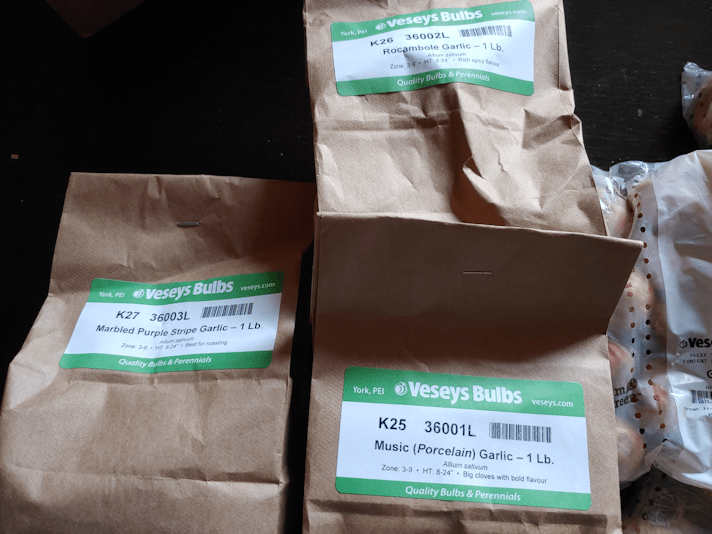
I appreciate how they add things to the label, like “best for roasting” , “rich, spicy flavour” and “big cloves with bold flavour”.
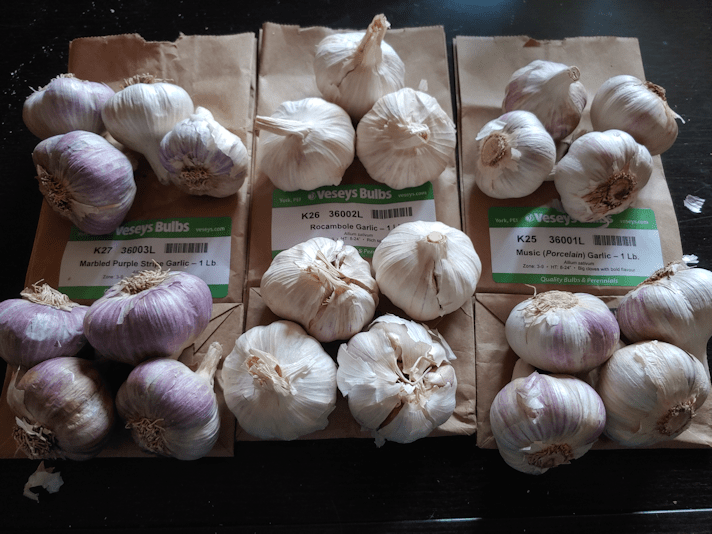
This is what 1 pound of each variety looks like. I wasn’t sure how many bulb heads or cloves that would translate into. That was the main reason I wasn’t sure if the two beds I’d prepared for them would be enough. At least I was reasonably sure it wasn’t going to be too much space! :-)

Today turned out to be a very windy day, so my daughter and I broke apart the cloves inside the house.
Those old take out containers were perfect for keeping the varieties organized!
Also, they made the house smell absolutely amazing!

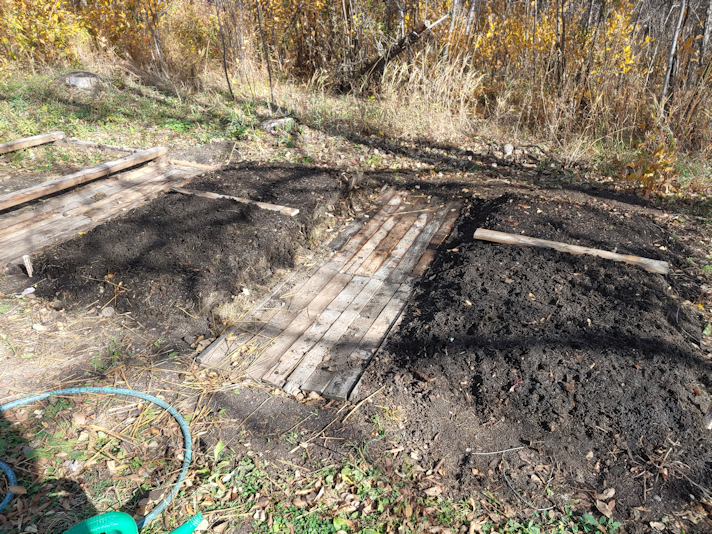
I had been watering the prepared beds, to try and get moisture down to the layer of compost and straw buried inside. Unfortunately, I wasn’t able to do that as often as I’d wanted to, so I gave them another thorough soak.
The frame used as a guide to dig 4′ x 8′ beds fit in the next space, inches to spare between it and the ring around the new compost pile. It was ready, just in case I needed a third bed.
Thankfully, I didn’t!
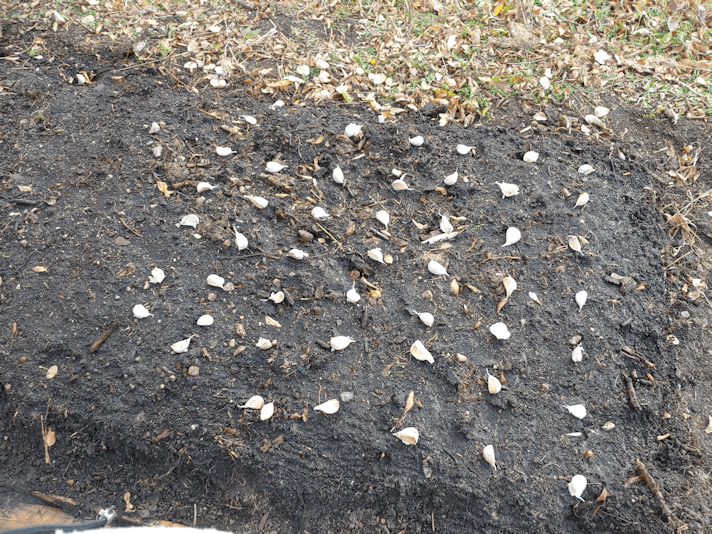
The first variety I planted was Music. Directions for planting hard neck garlic I have looked up, say to plant cloves 4 – 8 inches apart, in rows about 12 – 18 inches apart. Since we are doing beds rather than rows, I laid them out in a roughly 6 inch grid. The soil is so soft here, I was able to plant the by just pushing my gloved fingers in to the correct depth, without the need for any tools.
With the number of cloves we got from the Purple Stripe, my grid wasn’t quite as even at the end. :-D The corners on this bed seemed like they would collapse a bit, so I moved the cloves that would have been planted there to the other side.
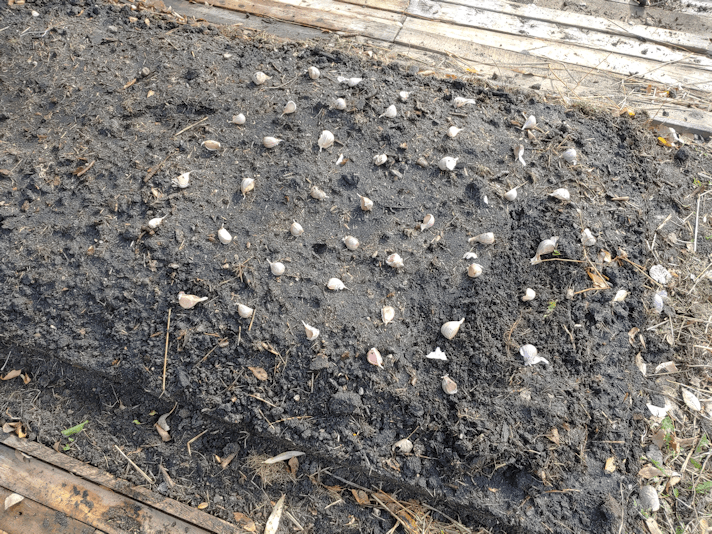
Once the two varieties were planted, I added boards to mark where the grid ended, and the third variety, which would be in both beds, started.


The Racombole turned out to have a lot more cloves, including more smaller ones. It was almost like soft neck garlic that way. So these were planted slightly closer together. More like 4 inches apart, rather than 6. I probably shouldn’t have bothered to plant the smallest ones, but I didn’t want to waste a single clove!
Those boards across the beds also came in very handy to put a foot on to brace myself, making it easier for my short little arms to reach the middle. ;-)
Planting in these beds really demonstrated for me that building much higher raised beds for accessibility is a very good idea!
The next step was to add the mulch, and this is where the wind became a real potential problem.
Thankfully, I thought to put the chopped up straw on a tarp.
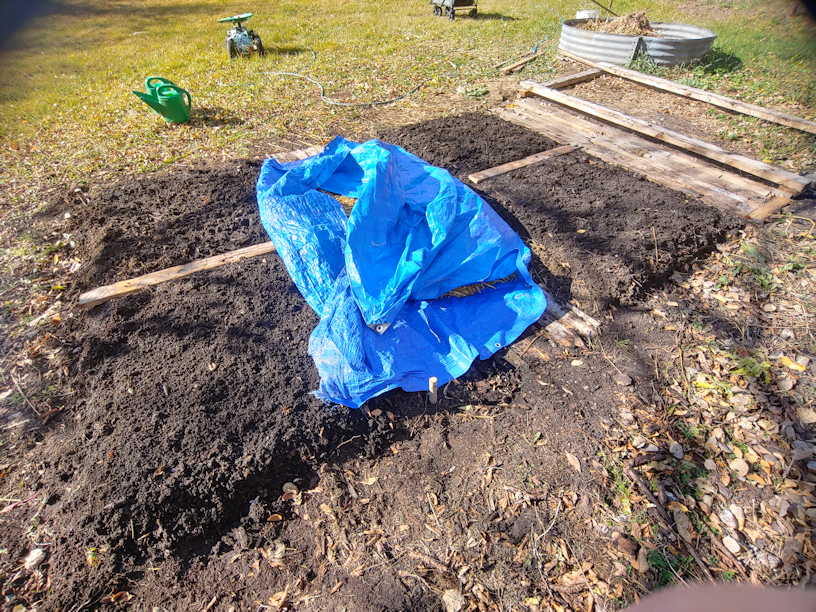
It was easy to slide the whole thing into the path between the beds. I could then grab handfuls, keeping them low and out of the wind as much as I could, to spread out.

I then had to rush to give the mulch a soak with the hose, more to weigh the mulch down than anything else! As you can see, the wind was already starting to blow the straw away!
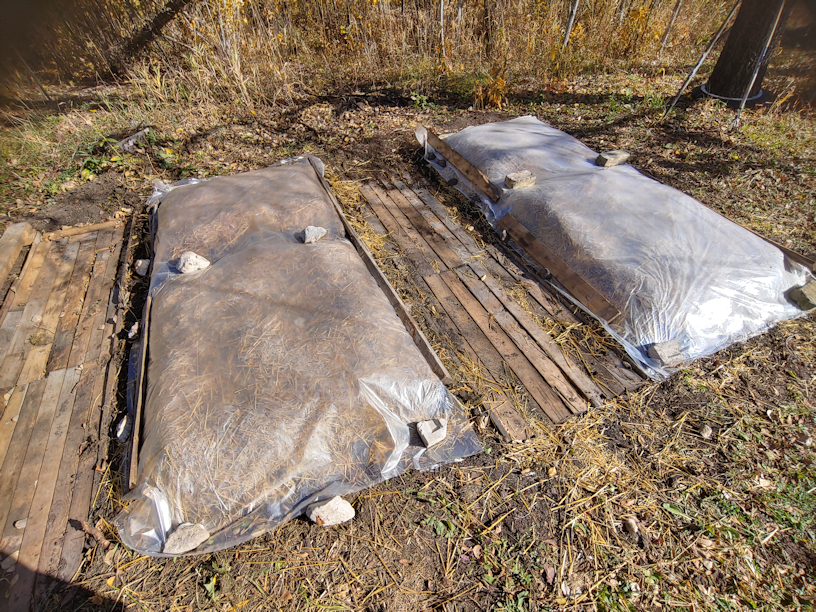
The last step was to cover the beds with plastic – which the wind certainly made challenging! Thankfully, we’ve found a couple of rolls of plastic while cleaning up the house and basements, so we have plenty, and I could unroll it directly on the mulch, adding weights as I did.. The plastic is actually folded in half on the roll, and I didn’t bother to unfold it, so this is a double layer of plastic on the beds.
As you can see, those board across the beds came in handy for the weights, too!
The plastic isn’t something I’ve seen suggested, in general, but we are in zone three, and most of the places I’ve looked up are in at least a zone 6. While October is the month for planting hard neck garlic for them, we probably should have planted these at the end of September – and would have, if they had not been back ordered.
The issue is overnight temperatures. We’re consistently hovering just below freezing. In the long range forecasts, our highs for the day will be just barely above freezing.
There are a few things going for these beds that should help with our planting this late in our zone. Burying the organic matter at the bottom of the beds means there should be some warmth generated as they break down, just as it would have if it were in a compost pile. The mulch will also help regulate the temperatures and, finally, the plastic should help keep things a bit on the warm side. I don’t want it warm enough for the garlic to start sprouting, but they do need to start their growth below ground before winter temperatures set in.
I might remove the plastic later on. Snow also acts as an insulator, plus these beds should not need any watering throughout the growing season. Between normal precipitation and the mulch, they should have enough moisture. Letting the snow cover the beds would give them that first burst of moisture in the spring, and the beds being slightly raised means they should thaw out faster than the ground surrounding them. However, the plastic will also keep the moisture they already have from drying out before the snow falls, and will help the soil warm up even faster in the spring, giving the garlic a chance to start growing a bit earlier. I would then remove the plastic once I saw that greens were making their way through the mulch.
My mother grew garlic in the old kitchen garden, but she never used mulch or plastic or any of the other techniques I am using that irritates her so much. :-D So I can’t go by how she did things, in past years.
So if there are any experienced garlic growers here, I would love to hear how you have done it! And would you leave the plastic, or take it off before the snow falls?
I’m really looking forward to seeing how these do. When it comes time to harvest them next year, we will be looking to save the largest bulbs for planting. Hopefully, we’ll have enough large ones to have more to plant than what we started with.
You just can’t have too much garlic, after all!
The Re-Farmer


Pingback: First year gardens: what worked, what didn’t | The Re-Farmer
Pingback: Garden plans for 2021: orders in, and probably way too much! | The Re-Farmer
Pingback: Our 2021 Garden: luffa, Crespo squash, decisions made, and we have sproooooots!!! | The Re-Farmer
Pingback: Our 2021 Garden: a tour | The Re-Farmer
Pingback: Our 2021-22 garden: garlic is in! | The Re-Farmer