After working on the low raised bed yesterday, I was not physically up to working on another one today, so I figured I would do a project that was less physically taxing.
In other words, I’m a bit of an idiot. :-D
It’s gotten to be that time of year to do something with the mushroom spores my awesome husband got me for Christmas. Today, I started with the morels.
The package doesn’t have a lot of information about how to inoculate an area with them. One thing it did recommend was several different types of trees to inoculate under. The only one we have around here is elm.
I spent some time online, seeing what other people did, and came up with a plan of action. I used one of the remaining sections of the old goat catcher we made, a couple of summers ago, and made it into a box frame.
Then it was time to work on the location we finally settled on.
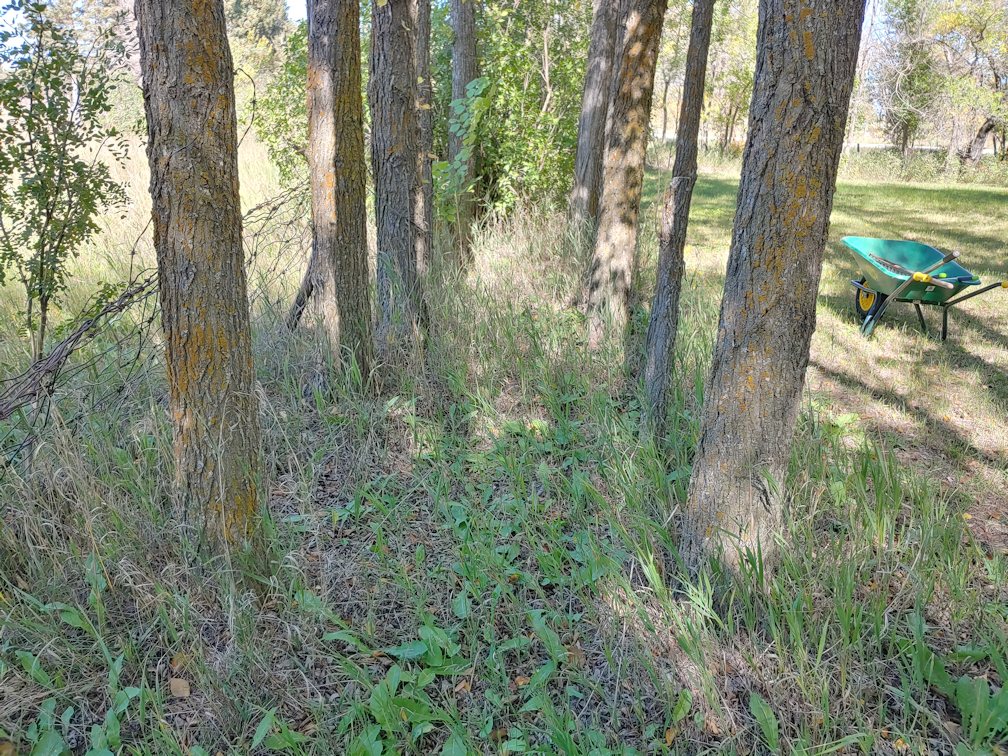
This double row of elms in one area is too narrow and lumpy to mow well, and far enough away that I really don’t want to bother with the weed trimmer. So both the morels and the giant puff balls will be going here.
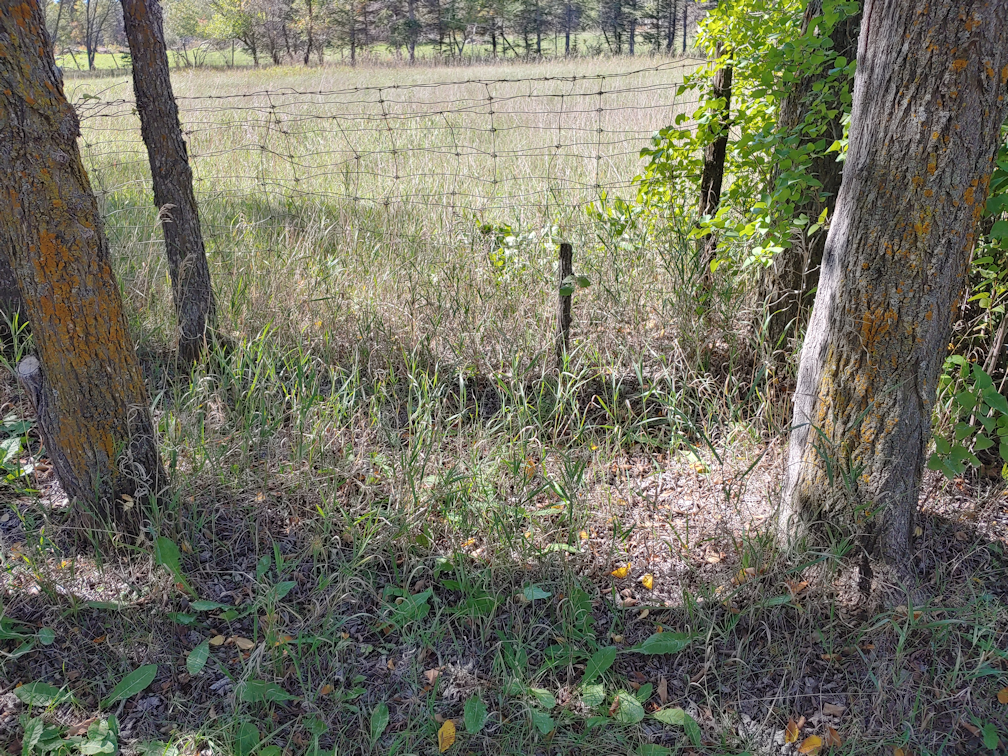
Since the morels will be going into a framed bed, they were going into the widest, most open part of the area.

First, it needed to be cleaned up. The stump of a dead little elm tree got trimmed flat to the ground, and a thatching rake was used to remove leaf litter and other debris. The remaining quack grass was so sparse, I ended up going over the area and pulling them up by hand, getting quite a bit of the rhizomes out in the process. Then I went over the area again with the thatching rake, loosening things up even more and getting a bit more debris out.
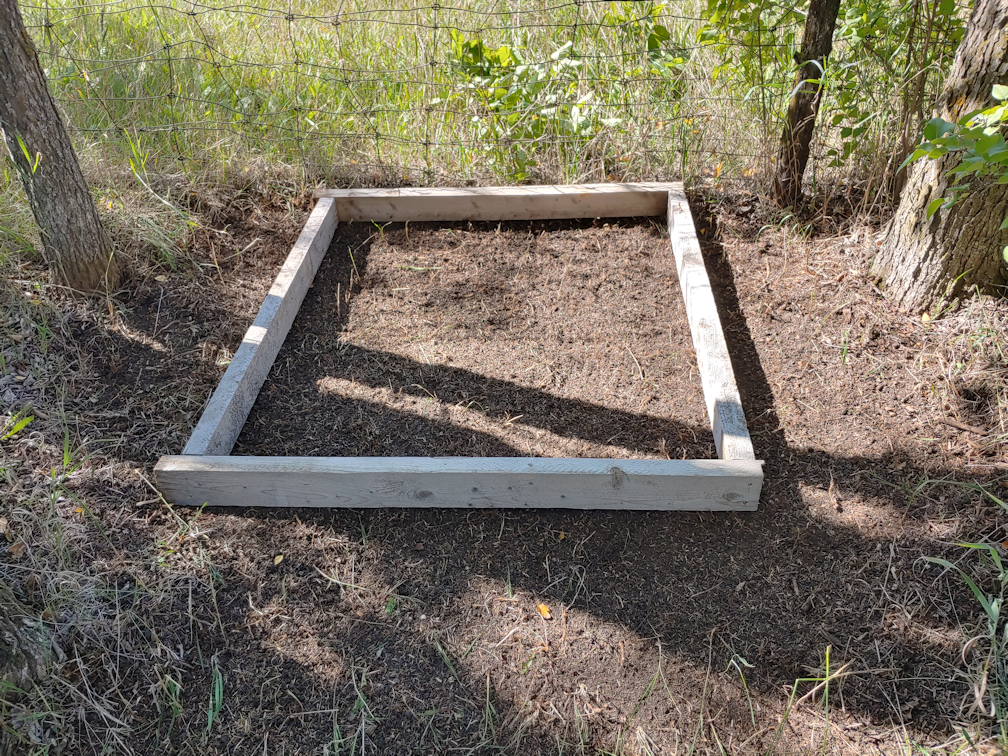
Next, the frame was brought over and placed in the most level spot that could be managed here. I wasn’t too worried about being perfectly level, since the next step would make that a non-issue.
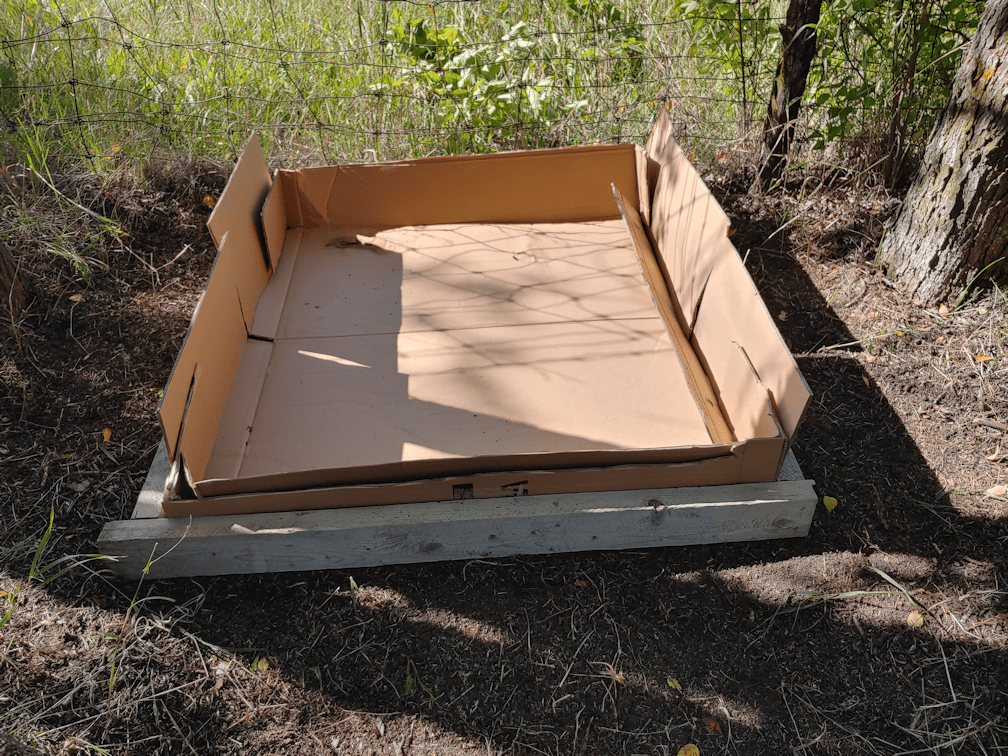
We had kept the box the new washing machine came in, with its wonderfully thick cardboard. I was able to cut it in half, and use it to line the framed space in two layers. This should not only keep the crab grass from coming through, but ensure that little elm stump won’t start sending out suckers, either.

The next step was to give the cardboard a thorough soaking. As it is two very thick layers, I just left the hose running while I prepared for the next step. Morels like wood ashes; there is always a bumper crop after a forest fire. In the time it took me to get wood ashes from the fire pit and mix it with some of our purchased garden soil, there was a bit of a pool inside the cardboard! :-D

The wood ashes and soil combination made only a thin later on the bottom, and that’s okay. From what I was finding online, this could have been filled with straight wood pellets or shavings, and no soil at all.
Speaking of which.
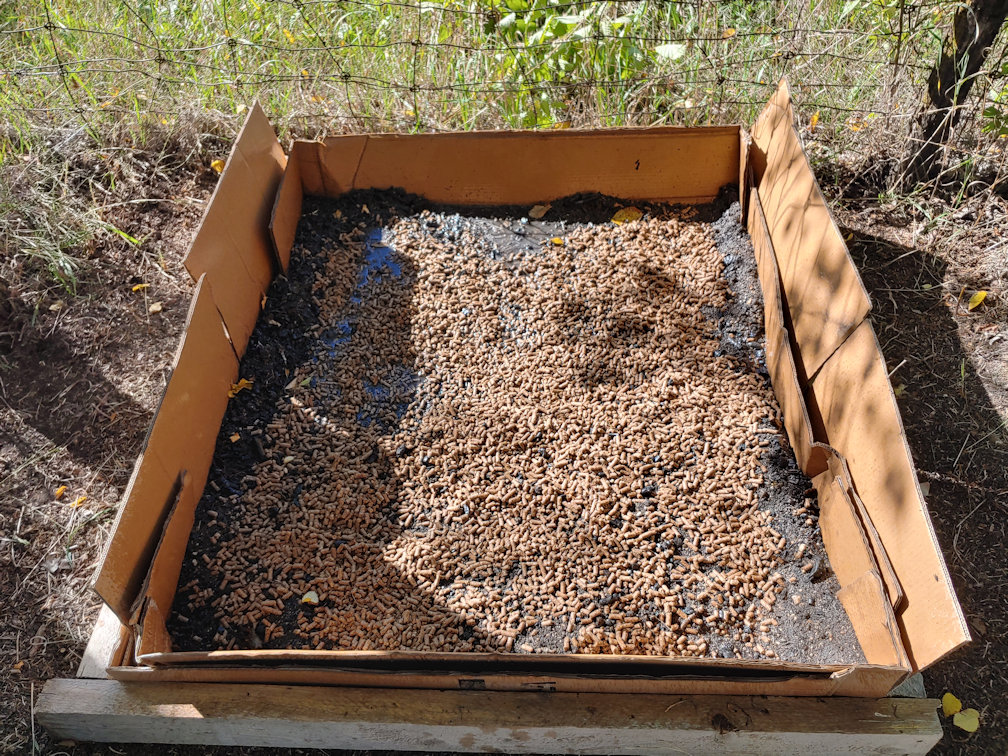
After thoroughly soaking the ash/soil mixture, I used the remaining half of the 40 pound bag of wood pellets I’d used in the low raised bed I made yesterday. Once those were spread out, they got a thorough soaking as well.
Then, while the pellets absorbed the moisture and began to break apart, I opened up a bag of wood shavings. Our general store/post office has them, probably for chicken coops. It’s the same sort of stuff you can get at pet stores for animal cages, except in a bigger bale.

A very thin layer of the wood shavings was added, more to cover the ash/soil mixture, and it got yet another soak with the hose.
Time to inoculate!
The packet the spores were in was the same sort of packet most garden seeds come in. Usually, mushroom spores come in blocks that get broken apart, so I was very curious as to what I would find when I opened the packet.
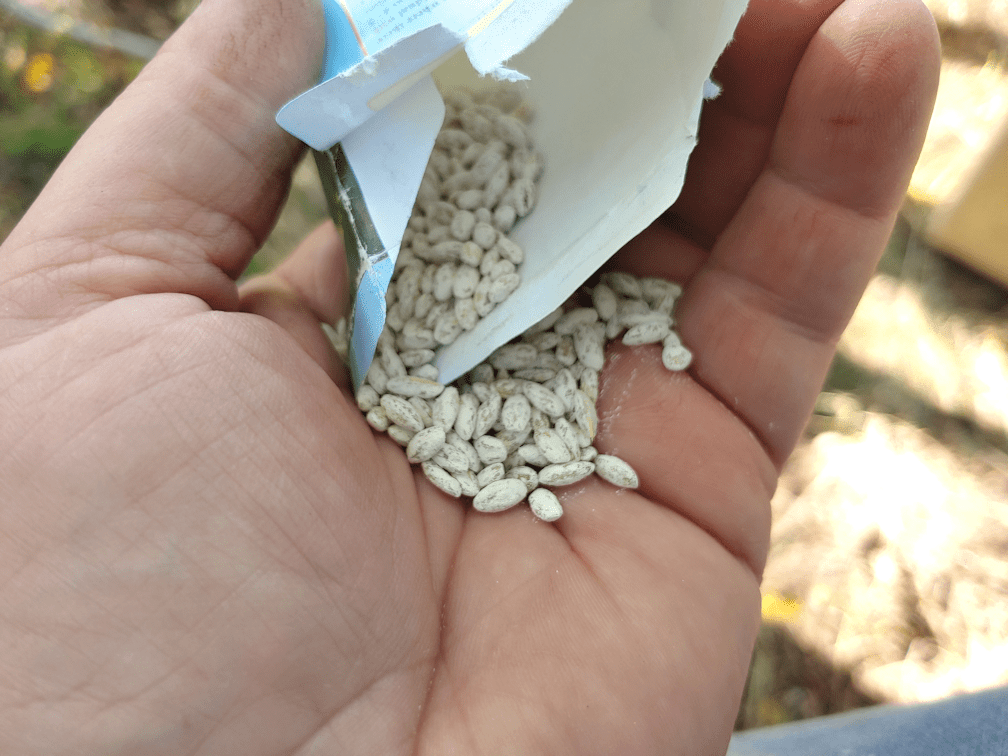
Huh. Interesting! These are about the size and shape of Orzo pasta, or some types of rice.

They got scattered over the shavings and wood pellets as evenly as I could. Can you spot them in the picture?
Those wood pellets have really expanded and broken apart. Perfect!
Once the morel spores were scattered, the bed got a light misting, more to make sure nothing would blow away.

Finally, a thick layer of the wood shavings was laid down and gently raked out evenly. Most of the bag of shavings got used up for this part. Once it was spread out, the whole thing got one final, very thorough, soak with the house.
And that’s it! It’s done! Now, we just wait and see. Hopefully, we will see morels in here around May next year, though it may take a year or two for anything to show up. That’s one thing that the package did say; it can take years for the spores to actually fruit. Or, nothing may show up at all. It’s hard to know.
As for the giant puff balls, those did come with more instructions, and need to be soaked in a water and molasses solution for a couple of days. After that, it just gets poured over grass. No advance preparation of the soil needed. If I can find a suitable container the cat’s won’t knock over, I’ll get those started tonight.
Meanwhile, now that I’ve had a delicious supper my daughters prepared, I think it’s time to pain killer up! This may have been less physically demanding than digging out a garden bed, but I probably should have given my broken old body a day to recover, first! :-D Actually, it’s not to bad. The thing that’s bothering me the most is the arthritis in my finger joints, which is more of a problem while typing than while shoveling. :-D
The Re-Farmer


Jeebus… so much work!
I’m lucky (proud?) if I manage to water the plants once every 2 wks. The backyard is a jungle… I haven’t trimmed anything all summer. The jasmine and honeysuckle vines are taking over!!
LikeLiked by 1 person
I can think of worse things to take over!
LikeLike
Pingback: Mmm… puffball slurry! | The Re-Farmer