Sun room progress: door frame painted

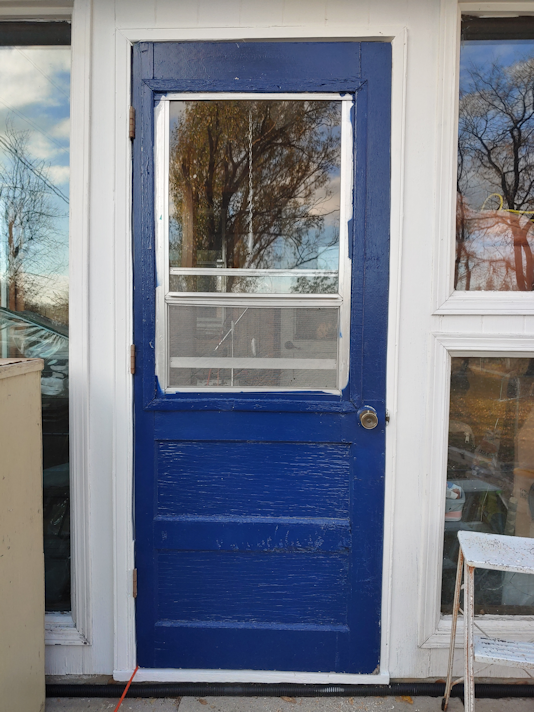
With the chillier temperatures, it’s really not a good time to be painting outdoors, so I made a point of starting right after doing my morning rounds. This way, it could have the whole day to cure, and I could decide on whether I wanted to do a second coat or not.

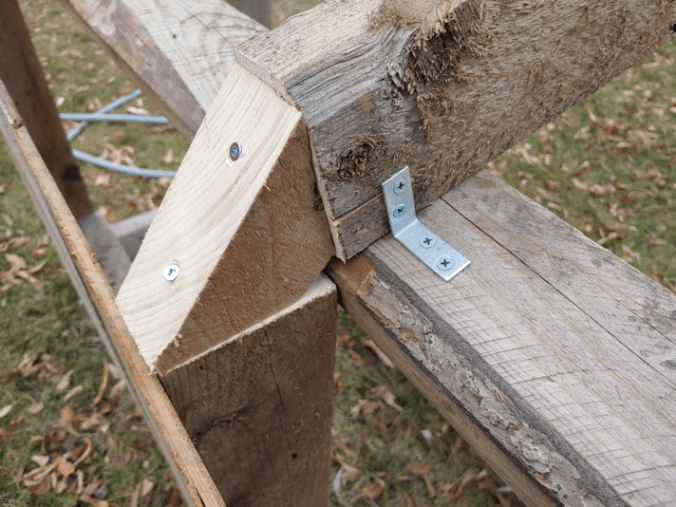
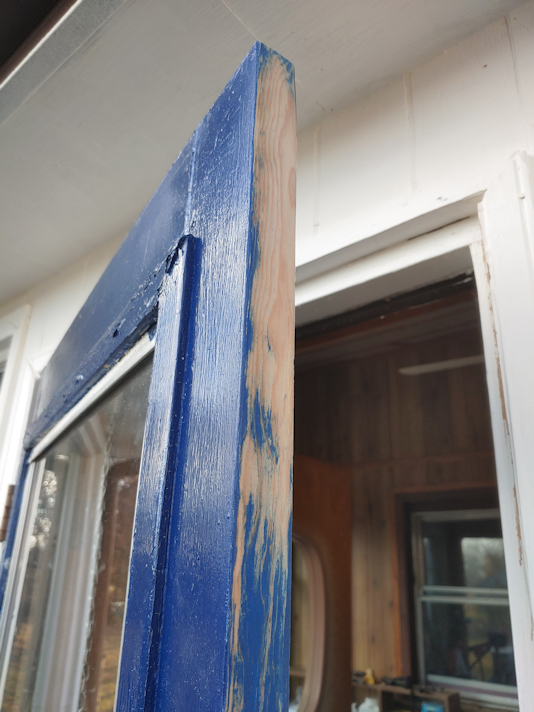
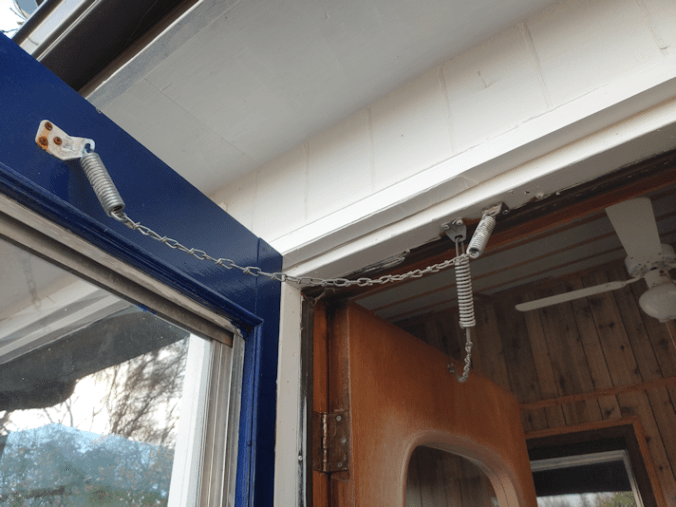
The top is cut so terribly crooked! LOL This is the piece I cut using a hand saw, after two failed attempts with the power tools we have available.

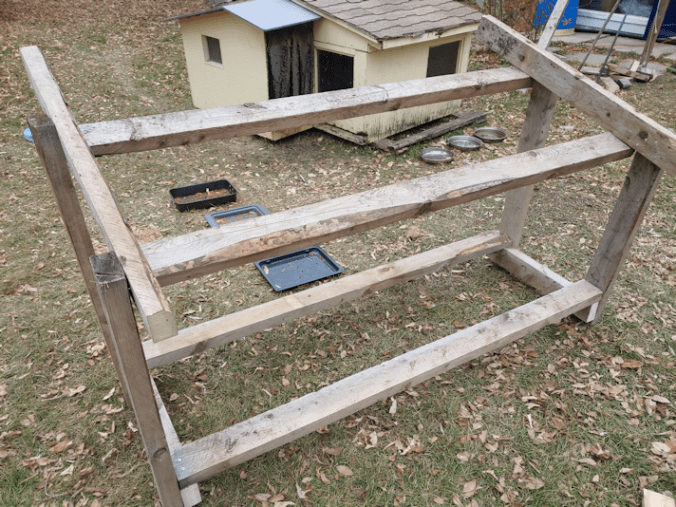
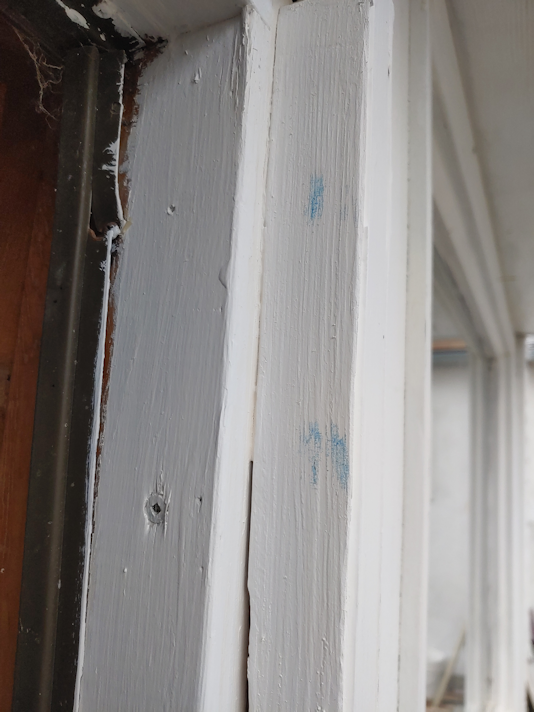
Though the house was painted the summer before we moved in, it looks like the inside of the door frame only got one coat, so I went ahead and painted that, too.

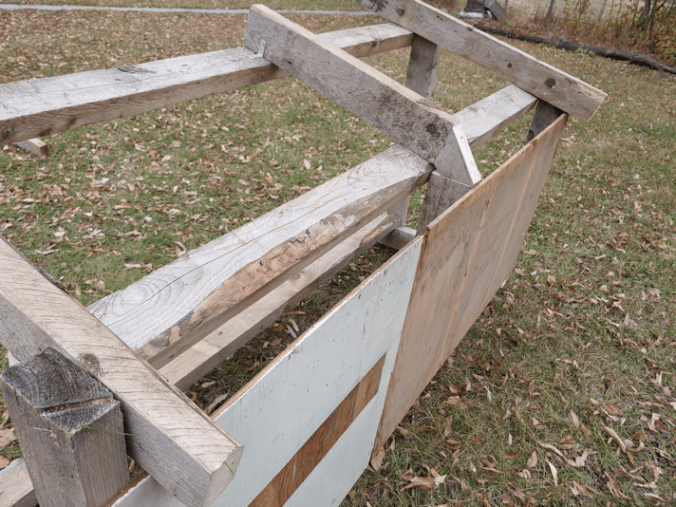
The extension cord to the cat shelter was staying, but I managed to keep it away from the paint. This corner on the left is where we’ve had to add the most material to make up for the shifting of the frame.

It’s really amazing how much a coat of paint makes even the worst patch jobs look better! :-D

Well, that didn’t take long! :-D

I had to leave the doors into the sun room open, of course, and later in the day we found white foot prints on the concrete inside! :-D

I’m rather happy with how the paint was feeling by the end of the day. We will be able to drop the cord down and actually close the door for the night. I’ve decided to go ahead and give it a second coat tomorrow morning, which means that the day after tomorrow, we can hang the door back up again.

It will be so good to finally have this job done!!!

After painting this morning, I headed to the post office to pick up our bulbs, which are now planted – but those will get their own posts! :-)

The Re-Farmer

This and that

A whole bunch of little things happening today.

The kitties were happy to see me this morning! :-D

I did find the missing food container that had been in the entry to the cat house. It is, indeed, still in the cat house, but somehow got dragged well into the main space, in an area where I could only see if when the sun was shining through the window in the entry! LOL

I got one side of the bird feeder support painted.

Then it started to rain and I tucked it into the sun room. I’m not sure if I’ll be able to do the other side today.

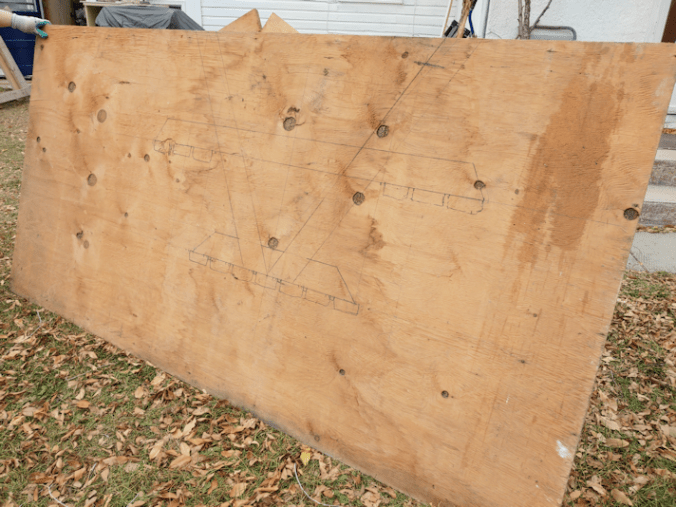
While that was drying, I started to work on trimming the pieces from the sun room door frame so we can finally hand the replacement door straight. I measured how much space I had, taking into account space needed around the door itself. The piece across the top would be an easy one, but the side piece needs to have a half inch difference between the top and bottom.

I quickly discovered some problems.

I was looking forward to using the table saw for this, only to discover the blade isn’t large enough to cut through. It would only reach half the thickness of the wood. I went hunting in the basement and the garage and did find more blades, but none larger.

I figured I would use the circular saw, instead. I started with the short, top piece, but it’s only 2 1/2 inches wide. I had my daughter try to help by holding it steady on the saw horses, but we discovered that the circular saw couldn’t cut all the way through, either. ??? Well, there’s the reciprocating saw. The blade on that was more than long enough. Except we don’t have clamps large enough to hold the piece in place, and it vibrates so much, there was no way it could be held steady by hand.

Which left using a hand saw.

At which point I could really feel how hard the hardwood is! It took forever to saw the half-inch I needed to remove.

There is no way the side piece can be cut by hand. It’s just too awkward, it’s several times longer than the top piece, and the cut that needs to be made is a very gradual angle. I was able to use the chalk line to mark a guideline to follow, but it would be difficult enough using power tools, never mind by hand!

I might just have to go and pick up some larger clamps, so I can use the reciprocating saw. I was looking at circular saw blades while at the hardware store yesterday, and they had almost no inventory, so I can’t even just buy a larger blade for the table saw.

I’ll make that decision, tomorrow.

So we moved on to other things. Like deciding to use up all the carrots we harvested to make one giant pot of carrot soup.

With the beets, too, since there are so few of them.

As I write this, they are all being roasted in the oven, and the girls are working on the other preparations. We got about 6 pounds of carrots (and maybe half a pound of that is beets! LOL), so it’ll be a triple recipe. We’ve never made carrot soup before. It should be very interesting in appearance, with all the colours in there. The carrots includes purple, white, yellow, and orange, while the beets include red and white, deep red and gold. I figure we’ll get … purplish grey. LOL

The vegetables were all still on the metal mesh “door” in the old kitchen, which is about as cold as a refrigerator these days. Once they were trimmed and removed, I took the time to reinforce the metal mesh. Some of the staples were already popped out. :-(

I’d found some washers in the garage a while back, large enough to reinforce the mesh, but the holes in the washers were too large for wood screws. So I got some smaller washers that would hold the screws.

This is on the support bar across the middle, which had lost the most staples.

Doing the sides was a bit different. The mesh is slightly off center, so on one side, I had plenty of mesh to work with, while on the other…

… there was about half the amount to work with. It worked, though. The mesh feels very secure. Even if the staples somehow end up coming out, the mesh will stay in place. It is now strong enough to use as a soil or compost sifter, if we want.

For now, though, it’s tucked away until we need it next year. :-)

Now to go see how things are going with that carrot and beet soup…

:-)

The Re-Farmer

Crab apple cider vinegar: straining day

After three weeks (and a day) the crab apple cider vinegar has been strained.

For those new to this blog, you can catch up on the process by clicking on the following links. Each should open in a new tab, so you won’t lose your place.

Part 1: getting started
Part 2: oops
Part 3: progress

While I have not been checking on them every day, I have been checking regularly, and the last I did, it they still looked like this.

So it was a bit of a surprise when I brought the jars over to strain them, and saw this.

Oh, dear.

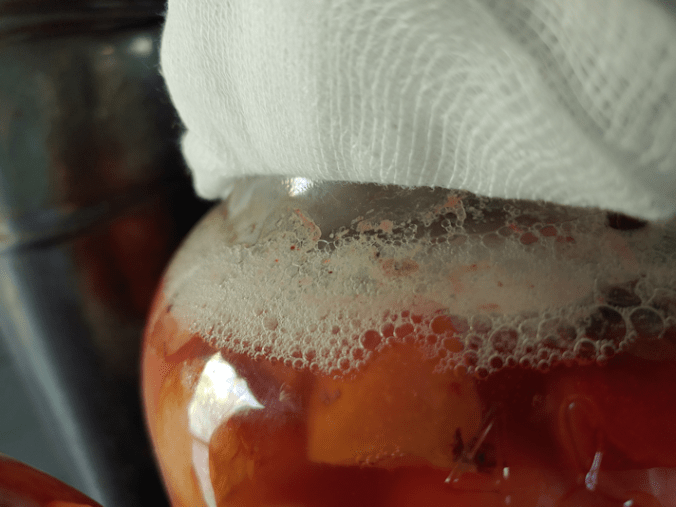
Both jars appeared to have mold at the top.

Now, part of what we’re doing this year is seeing if there’s a difference using cheesecloth to cover the top, or an airlock. Theoretically, because the cheesecloth allows oxygen in and an airlock doesn’t, the one with the cheesecloth should have been worse.

When I opened them up, though, there really wasn’t much difference. They both looked like this.

Yeah. Gross.

It seems the glass weight I used was not large enough to keep all the apple pieces below the level of liquid. Why it was enough to do so for almost 3 weeks, I don’t know.

On taking out the glass weight, I found that the pieces still immersed looked fine.

After scooping out the pieces at the top, the ones below all looked fine. The photo on the left is the jar that had the airlock, the one on the right had the cheesecloth.

I see no difference at this point.

After straining the pieces out, I checked them, and everything still looked fine. It was only the very top pieces that showed mold.

Took keep the experiment going, I made sure to do each jar from start to finish separately, cleaning and sanitizing the jars (and the airlock with its lid) before pouring the baby vinegar back.

The vinegar on the left is from the airlock jar. The one on the right is the cheesecloth jar.

Again, I see no difference between them.

Both of them also resulted in 2L (about half a gallon) of baby vinegar. If I weren’t testing the two different tops, I would have poured it all back into just one jar.

One thing I noticed very quickly when straining them, is that they both have a surprisingly strong alcohol smell. A rather pleasant one! I might have a bit of hard cider going at the moment!

No, I didn’t taste them.

The question is, will the mold that was at the top be a concern? Will the continued fermentation – which is really just controlled decomposition – eliminate any potential problems?

There’s only one way to find out.

Back they go to the old kitchen, for another three weeks. Then it’s tasting time before deciding to let it ferment for longer or not.

These are supposed to stay out at room temperature. Room temperature in the old kitchen is a fair bit lower than the rest of the house – which isn’t particularly warm, either! When I brought the jars over to strain them, I used the temperature gun and they were both at 12C. If we were wanting to make an alcohol, that would be too cold, but is it too cold for a vinegar?

Well, we’ll see how it is in three weeks!

The Re-Farmer

Crab apple cider vinegar, fermentation progress

Today has been one of those write-off days.

Yesterday, we hit 27C/80F. An unexpected result of that is, all number of house flies and other flying insects emerged from wherever they were slumbering in the previous cool, and got into the house.

Which meant a night of cats making a ruckus while chasing bugs all over the house.

I got very little sleep.

Today was much cooler, but rather than being outside, taking advantage of it, I ended up passed out for a couple of hours.

Cuddled by a couple of cats, of course. The buggers! It’s a good thing they’re so cute.

Anyhow.

While puttering about the house, trying to get at least some productivity in, I was in the old kitchen and checked on the apple cider vinegar. It’s been a couple of weeks since I started – or should I say, restarted – them, so I figured it was time for a progress report.

For my new followers (welcome! Happy to see you here. :-) ), you can visit our first making of apple cider vinegar with our crab apples here. This year, we decided to make a larger quantity, with some experimentation. You can read about our first attempt here, and after discovering I made a really silly mistake, the reboot is written about here. (All links will open new tabs, so you won’t miss your place. :-) )

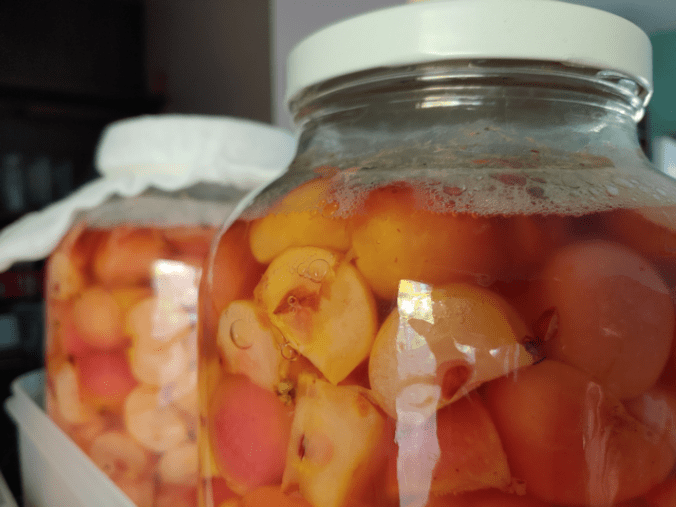
Here is how the jars look now.

The old kitchen is a very dark room. The south facing window has the sun room in front of it, so it doesn’t get any direct sunlight. The west window, which would normally provide a lot of light at the end of the day, is covered with aluminum foil (which predates our moving here), so there is zero light coming through there. The north facing window is what’s providing what light you can see in the above photo. Without turning the light on in the room, it was too dark to get a photo without moving to the window side of the jars.

This is a good thing. The instructions said to put the jars in a cupboard, and we just don’t have any with the space for these jars, so a room that never gets bright works just fine. The concern I had was how cold this room is. Fermentation requires warmth.

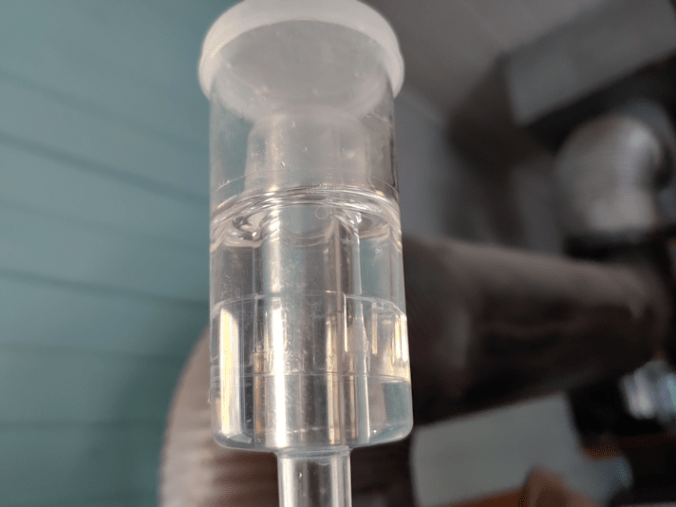
As you can see, there is no activity in the airlock at all. If there had been, the plastic cap on the inside would have been pushed to the top as it filled with CO2.

However, this is not the same as fermenting alcohol, so not seeing activity in the airlock does not necessarily mean nothing is happening.

And things are most definitely happening in there!

Both jars look the same. At this point, I see no difference between the one with the airlock and the one with the cheese cloth. Both have this layer of bubbles at the top, and when turning the jars to check them, more bubbles enthusiastically make their way up the jar. There most definitely is active fermentation going on.

One good thing about doing this in the larger jars like this: it’s nowhere near as messy as our first attempt! The fermenting vinegar had bubbled up enough to reach the coffee filter covering it and leaked a bit, inviting all sorts of fruit flies to check things out. This year, had I not had to throw away the first batch, with the its very full jars, it may well have bubbled up, and the one with the cheese cloth, at least, would likely have had a mess. There may be more headspace than needed in these jars now, but it seems to be better that way.

There also doesn’t seem to be any sign of mold or rot or anything of concern. The glass canning jar lids being used as fermentation weights are doing the job of keeping the floating apple pieces submerged.

So far, everything is looking good!

Next week we’ll hit the 3 week mark and, according to the instructions I’m following, that’s the time to strain out the apple pieces, return the vinegar to the jars, and let them sit for at least another 3 weeks.

I’m very curious to see if there will be a noticeable difference between the two jars.

The Re-Farmer

A bit more kitten progress!

Last night, I came out of the house to find I had an audience, watching me. :-)

Very attentively!

When I came out this morning to refill their food containers, Braveheart came running right up to me – but not enough to let me pet her! :-D

Her brother, on the other hand, actually let me pet him!

His fur is soooo soft. :-D

Now, it would be because I had the scoop of food in my hands, and had just added some to the container – he was far more interested in the food than in me! When he did finally seem to notice I was petting him, he sort of moved away, but then went right back and let me pet him some more.

I honestly expected this level of progress with Braveheart, not Tabby!

The Re-Farmer

A happy sight!

While I was working in the yard during the day, I saw Butterscotch, but not her kittens. So it was a lovely surprise when I was doing my rounds in the evening, and saw what turned out to be the little calico.

On the landing in front of the main entrance!

Unfortunately, I startled her away, but this is the first time I’ve seen the little kittens on that side of the house. Of course, I had to go and check, making sure to quietly go around the other side, and sure enough, Butterscotch had finally brought her kittens to the food and water bowls by the sun room!

Two of them hung around while I was there, including Creamsicle Jr. who made his way up one of the ornamental apple trees.

Best of all was seeing this…

The little kittens, playing with the big kittens!

This is very encouraging. I hope they discover the cat house and find it a nice, warm, soft place to spend the nights in. They were already playing around and under it! :-)

The Re-Farmer

Hard crab apple cider: Getting clear

What a difference a day makes!

This is how the crab apple juice looked, right after we got finished setting up the fermentation.

This is how they looked this morning.

The photo does not do justice to how bright the colour is!

When I was checking these last night, the tops were full of dense foam, which has mostly collapsed, but you can certainly see how high it got.

Their temperatures seem to be holding at between 18 and 19C, and – most importantly! – we are seeing activity in the airlocks. Not a lot, but it’s definitely started to bubble!

So far, so good… I think! :-D

The Re-Farmer

Here comes the sun

That first seed head that opened is getting pretty big! Quite a few more are starting to show yellow petals.

It’s nice to see more reaching this stage.

I have no convenient way to measure, but I’d guess the tallest ones are reaching the 8 foot range.

The heights are all over the place. Of the original seeds planted, they are among the tallest, of course, but some of them are still only in the 5-6 foot range – and then there are the ones that were shortened by deer! Among the variety that got planted later to fill in the gaps, some are just a couple of feet tall, while others are around 3-4 feet. That variety is supposed to reach about 6 ft, if I remember correctly. Hopefully, we’ve got enough of a growing season left for them to produce harvestable seed heads, but even if they don’t, they are good for the other reasons we planted them; as a privacy screen and a bit of a wind break.

Definitely planting more, next year! :-)

The Re-Farmer

A different baby

The bitty, baby birdhouse gourd has getting bigger! :-)

Still a baby, but it’s getting noticeably more heft to it. :-)

Some of the other gourd plants are blooming. I wonder how big these guys would have been right now, had they not been hit by the one night of frost?

The Re-Farmer

Finally doing a burn, and getting cuddles for my efforts

Today turned out to be actually chilly, for a change. Also, a bit on the damp side, with the odd bit of rain here and there.

Which made it the perfect day to FINALLY get a burn done.

I set this ring up last year, so we could burn away the scrap and rotted wood and other garbage that was too big or oddly shaped for the burn barrel.

With weather conditions, neither have been used much at all, lately! There was stuff in here, waiting to be burned, for months. This thing was supposed to be a short term set up that was meant to be cleaned up by fall of last year!

It is about 2/3rds full of ashes now, so this will be the last burn in it.

I was originally thinking that the ashes would be emptied into garbage bags, then taken to the dump, but I’ve decided against that. It will be added to the material we’ve been putting behind the outhouse. At some point, we’ll be ready to get rid of it and fill in the pit, and we should be able to just shovel this stuff in.

While tending the fire, I had some loving company!

He was not only determined to get hugs and cuddles, but also to lick my nose. If he couldn’t get at my nose, he would go for my neck, chin, ears, hair… but apparently, my nose tasted best of all! LOL Which wouldn’t have been too bad, except he kept trying to lick the inside of my nose, too.

Which actually hurts. That tongue is sharp!

When I had get up to tend the fire…

… he took my butt spot! :-D

After everything was burned out, I found some pieces of metal that I fished out. Nails and old wire are one thing; they’ll be left in there. These pieces, however, were a bit too big!

The metal plate could have been on pretty much anything that was in there, and I half remember the parts and pieces of an old drawer going in, which would explain the handle, but I cannot, for the life of me, think of what went into the pile that had such a huge hinge on it!

The next step will be to shovel out the ashes until I can move the ring. The metal sheet underneath will make it easier to clean up whatever is left. Then the whole thing will be moved away. I had deliberately placed it, not only far away from anything that could catch fire, while still being close enough to reach with a hose, but also in the way of using this part of the driveway. The inconvenience of it would be incentive to get it done! :-D

Well, it worked. It was definitely inconvenient where it was. LOL It’ll be good to finally have it cleared away!

The Re-Farmer