Though it is very early in the year, we have our first seeds started indoors today. A lot of people in our zone have already got seedlings, while still others are saying, it’s way too early.
So which is it?
I happened on a video today, talking about planting peppers and eggplants, which we are doing for the first time this year. Both are plants we never grew when I was a kid, so I have zero familiarity with them.
This particular video mentioned something I’ve never heard before, yet had wondered about.
When reading the seed packets, they say things like “start indoors 4-6 weeks before last frost date”.
Last year, we had a lot of issues with some things not germinating. Some took forever to germinate. Others never did at all. This was particularly true of various squash, plus all the Hope Black Dye sunflowers – with did finally all germinate, when I started taking the trays outside, while hardening off other seedlings.
What got mentioned in this video, is that when they say “4-6 weeks before last frost,” it’s actually from germination, not from planting the seeds. So if you have something that needs to be started, say, 6 weeks before last frost, but the packet says the seeds take 7-10 days to terminated, then the time to start them indoors is 6 weeks, plus 7-10 days.
That actually makes so much more sense to me.
I’d already made a list of which seeds needed to be started when, and these were the ones that needed at least 8 weeks.
The gourds were started first, as they needed extra steps. Among the things recommended that I wanted to try was scarification and pre-soaking.
So that’s what I started this morning.

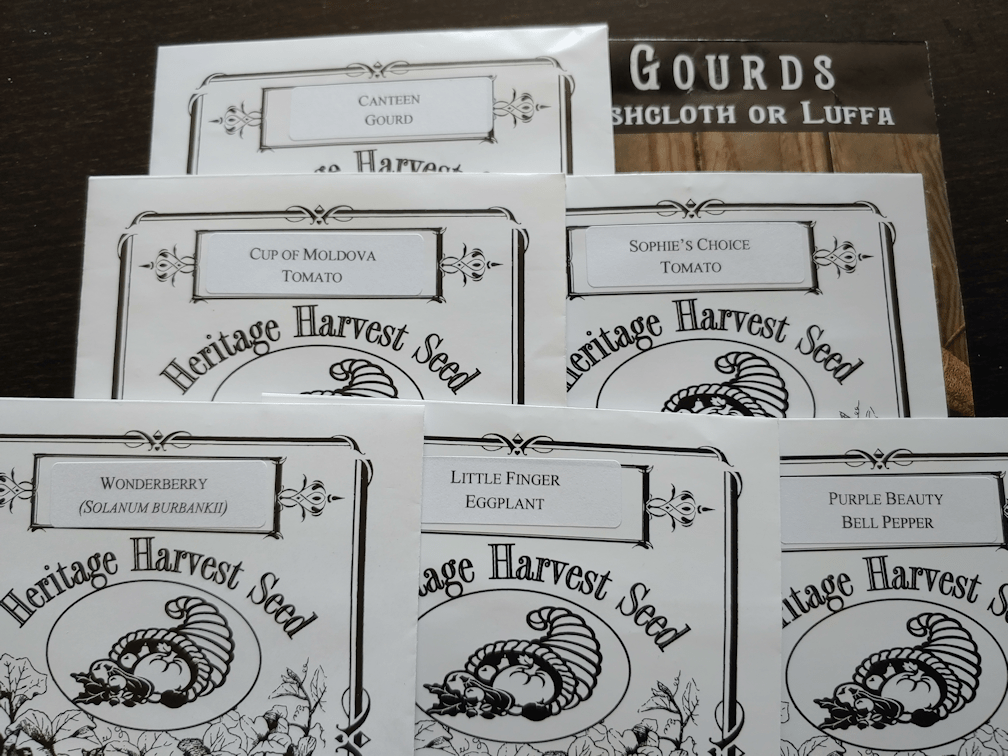
Of the gourds we will be trying to grow this year, I chose the Canteen gourd to start early, as the gourds are supposed to get quite large. The other gourds I want to grow are smaller at full maturity.
Which lead me to another thing. With the luffa, we’re not after “days to maturity”, which is 110 days, if I remember correctly. We’re after the sponges, so we need for those mature gourds to dry out. That puts them at 200 days. Even starting now, we might not have that long for them. It will depend on whether or not we get another really long summer again. Of course, in the end, everything depends on the weather.
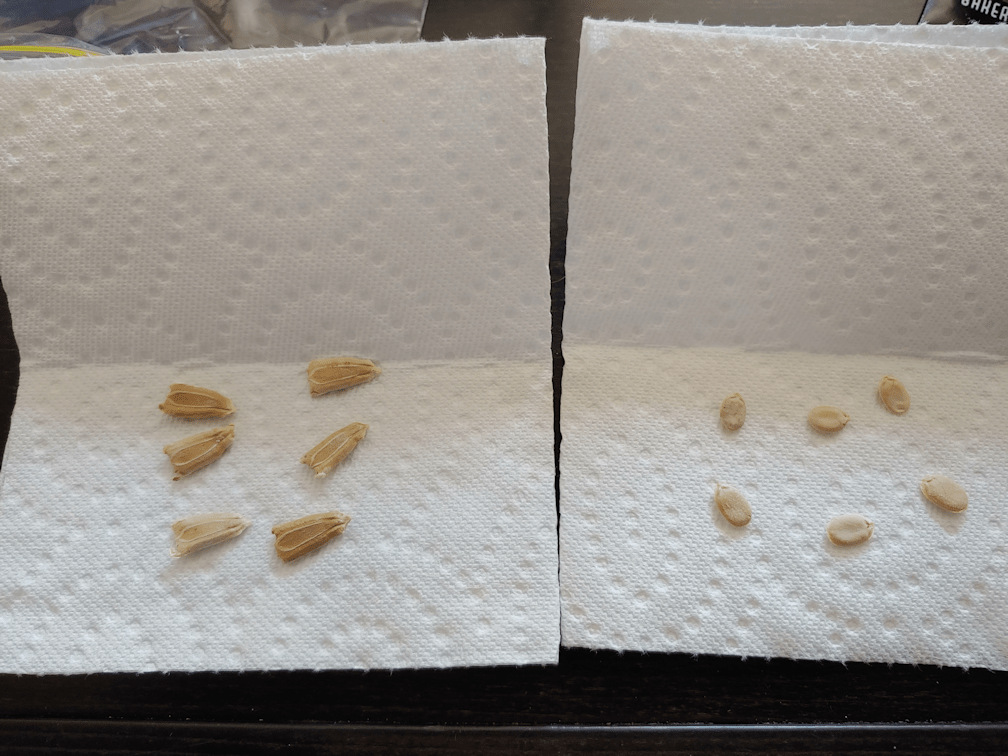
I chose 6 of the plumpest, healthiest looking seeds from each, then carefully snipped their outer shells with a nail clipper, before putting them inside the folds of a paper towel.

Then they went into sandwich baggies, and the insides were sprayed with water, before being sealed and left to sit. Most places recommended leaving them overnight, but I left them “overday” instead. ;-)
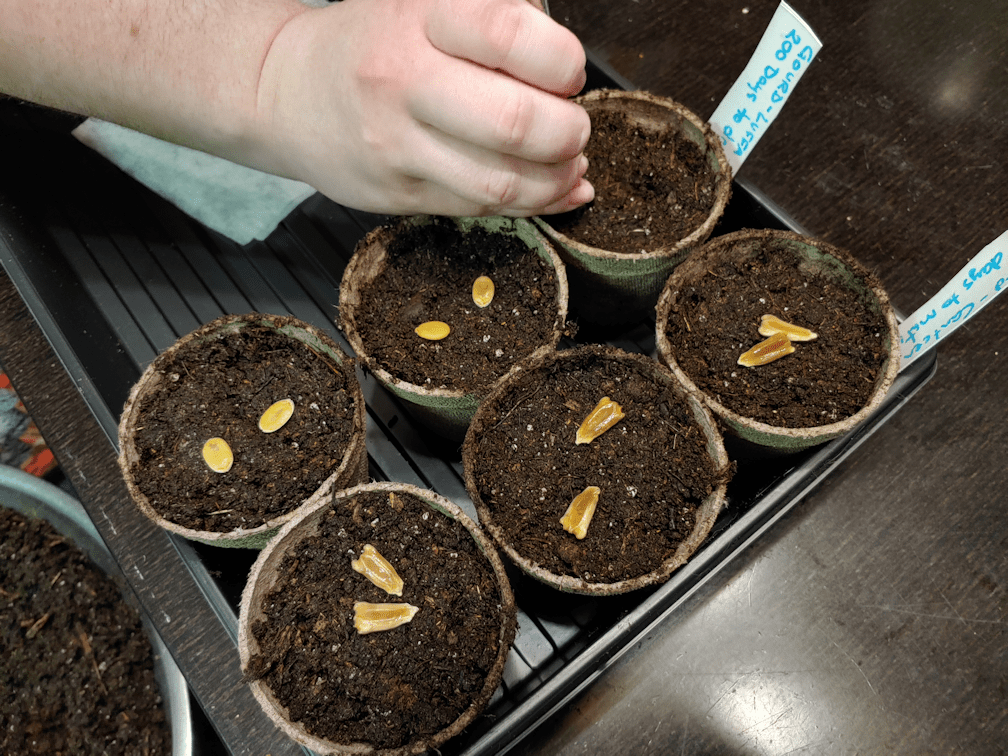
Then they went into planting pots filled with pre-moistened seed starting soil. My daughter used a chopstick to push them the inch into the soil they needed to go. Once covered, the tops of the soil got sprayed with water.
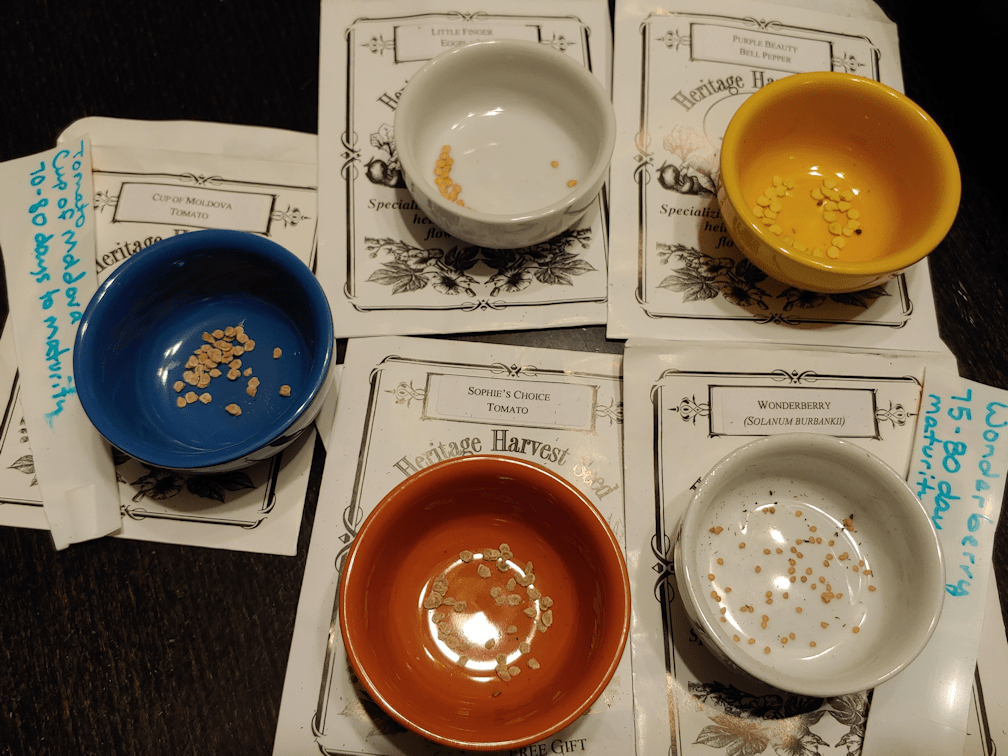
Then it was time to take a look at the rest of the seeds and see what we had to work with. None of the packets have a lot of seeds in them, but we are not after a lot of individual plants.
The Sophie’s Choice tomato was a conundrum for me. Everything I read about them said they needed to be started very early; a couple of weeks earlier than other tomatoes. Yet they are an early tomato, with only 55 days to maturity. At only 55 days, we could start them outdoors and they’d have plenty of time to mature. Odd.
For all but the Wonderberry, we decided to plant about 5 seeds per pot, and three pots each. With the gourds, that filled an entire tray.
The Wonderberry got planted using the double cup method. I reused some of the Red Solo cups we used last year, with the inner cups having drainage holes in the bottom, so they can be watered from below, using the outer cup.
We still had seeds left over, even with how little was in each packet, so that’s nice.
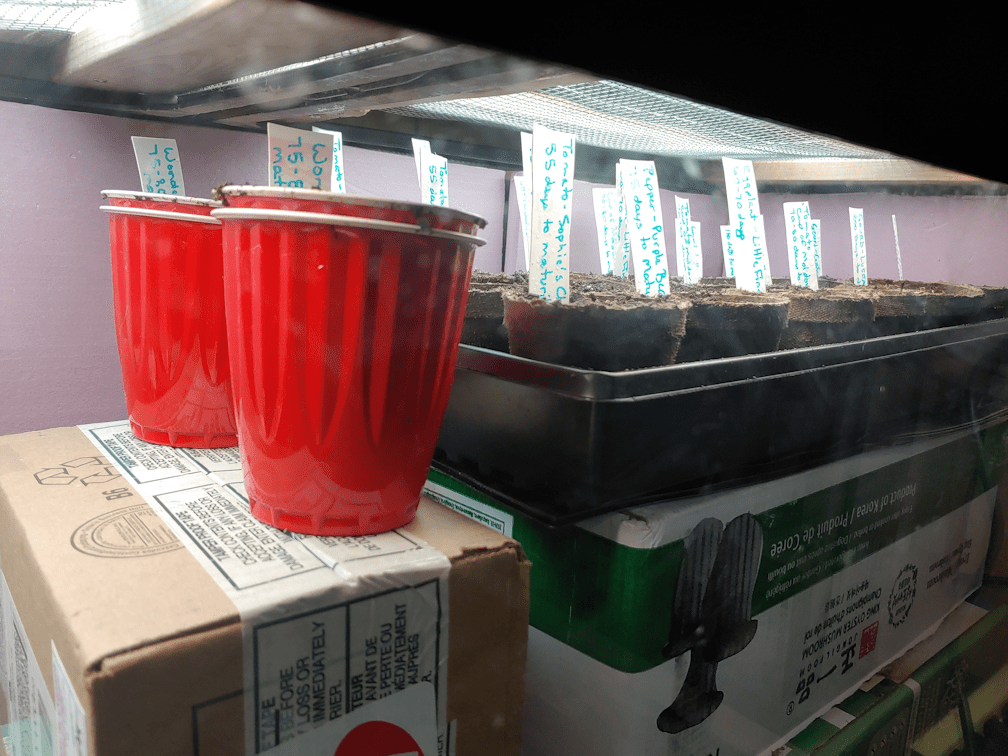
We used more boxes to bring the tray and cups closer to the lights, inside the big aquarium greenhouse. The heat mat fits under the tray. I’m hoping that just being near the mat as well as close to the light fixtures, one of which does warm up, will be good enough to adequately warm the Wonderberry in their cups.
The double cups got water in their bottoms before they were put in place, and water was added to the tray once it was settled on the heat mat. We do still have a little fan blowing into the tank, though it’s over the orchids and aloe in the other corner. We won’t be able to cover these with a plastic dome, as typically recommended, so I’ll be making sure to use a spray bottle to keep the tops moistened, since the smaller seeds are so much closer to the surface. There’s quite a bit of water in the tray so, with the heat mat, that should help increase the humidity levels, with the fan hopefully keeping things from starting to mold.
The heat mat doesn’t have a thermometer, nor do we have a soil thermometer, so we’ll have to monitor these fairly closely. Everything is plugged into a power bar, which gets shut off every night, so there will at least be that break. If it seems to be getting too warm – unlikely, for what we’ve got planted in there – we can put something under the tray to elevate it. Once the seeds germinate, we can probably take the mat out entirely.
The next things we’ll be starting are the onions, which won’t need the heat mat, but when it comes time to start the rest of the tomatoes, and all the squash, we’ll need both the heat mat and space – and space is going to be harder to come by! We do have a mini greenhouse, the frame of which we are currently using in the sun room to hold the heater bulb for Butterscotch and Nosencratnz, as they recover. We did try to use it in the living room last year, as it does have a zippered cover, but the cats still managed to get into it. If we could find some way to keep the cats out of it, it would go a long way to helping with our space issues!
We’ll figure something out.
The main thing is, we’ve got stuff started that need that extra time indoors.
Yay!!
The Re-Farmer


Pingback: Our 2022 garden: starting bulb onion seeds | The Re-Farmer